Adding Advanced Features
How do I add a Google Analytics 4 (GA4) tracking to my project?
Learn how to add a Google Analytics 4 (GA4) tracking to your project.
How do I add a Google Analytics 4 (GA4) tracking to my project?
Adding GA4 tracking to your Greta project is simple and requires no coding:
1. Open Project Settings
- Click the Project Settings button in the top-right corner
- Navigate to the Integrations tab
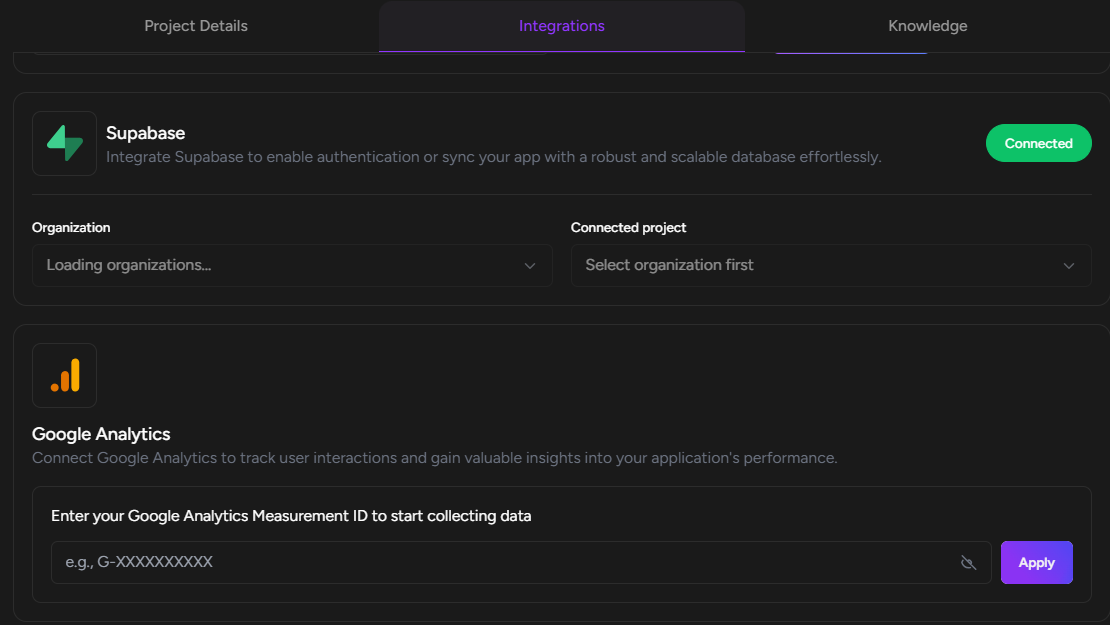
2. Find Google Analytics Section
- Locate the Google Analytics integration panel
- You'll see a field asking for your Measurement ID
3. Get Your Measurement ID
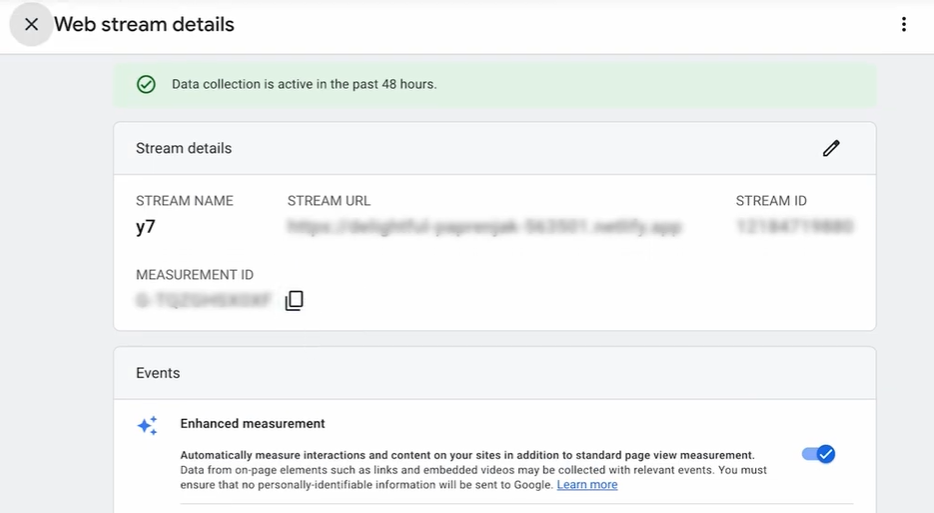
- Go to your Google Analytics dashboard
- Navigate to Admin → Data Collection → Data Streams
- Select your active data stream
- Copy the Measurement ID (starts with "G-")
4. Apply in Greta
- Paste your Measurement ID into the field in Greta
- Click "Apply"
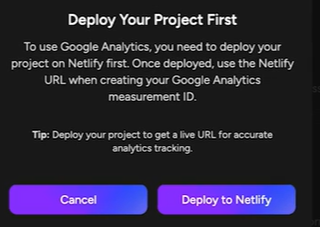
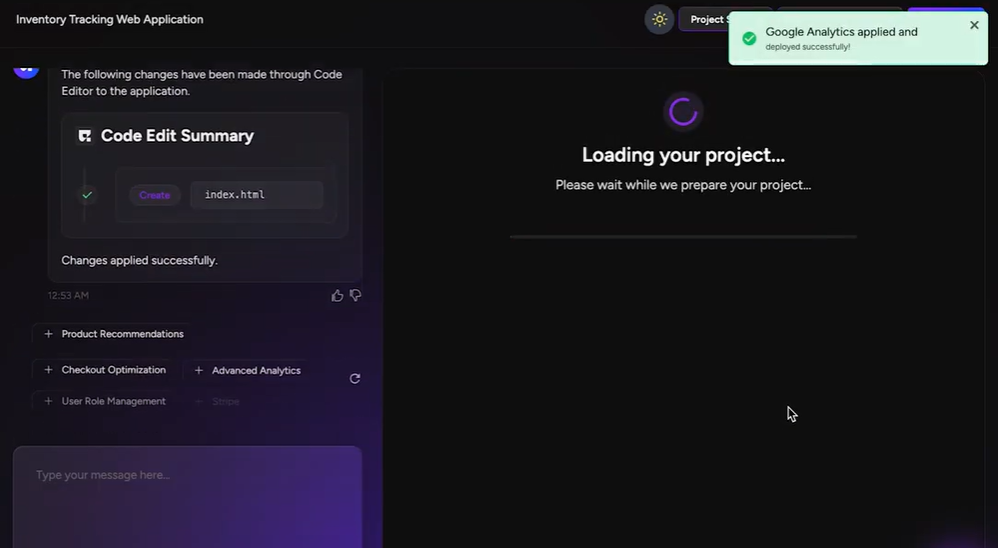
5. Deploy Your Project
- Greta will prompt you to deploy to Netlify first
- Click "Deploy to Netlify" and wait for completion
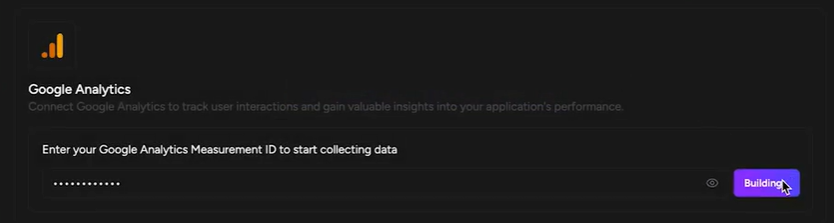
- Once deployed, click "Apply" again in the Google Analytics section
6. Verify Connection
- Check your Project Settings - the status should show "Connected" in green
- Your GA4 tracking is now active!
Additional Notes:
- You can update or disconnect Google Analytics anytime from the same section
- Requires a live deployment for accurate tracking
- No code changes needed - Greta handles everything automatically
That's all it takes to connect professional analytics tracking to your Greta project!