Getting Started with Greta
How to create your first project using Greta?
Follow a step-by-step guide to setting up your first project in Greta, from registration to creating a working prototype.
How to create your first project using Greta?
Step 1: Sign Up & Verify Your Account
- Visit https://greta.questera.ai/ and sign up using your email or Login/Sign up with your Google account.
- Incase of email sign up, enter the OTP sent to your email to confirm your account. Once verified, you’re ready to use Greta.
Step 2: Access the Dashboard & Start a Project
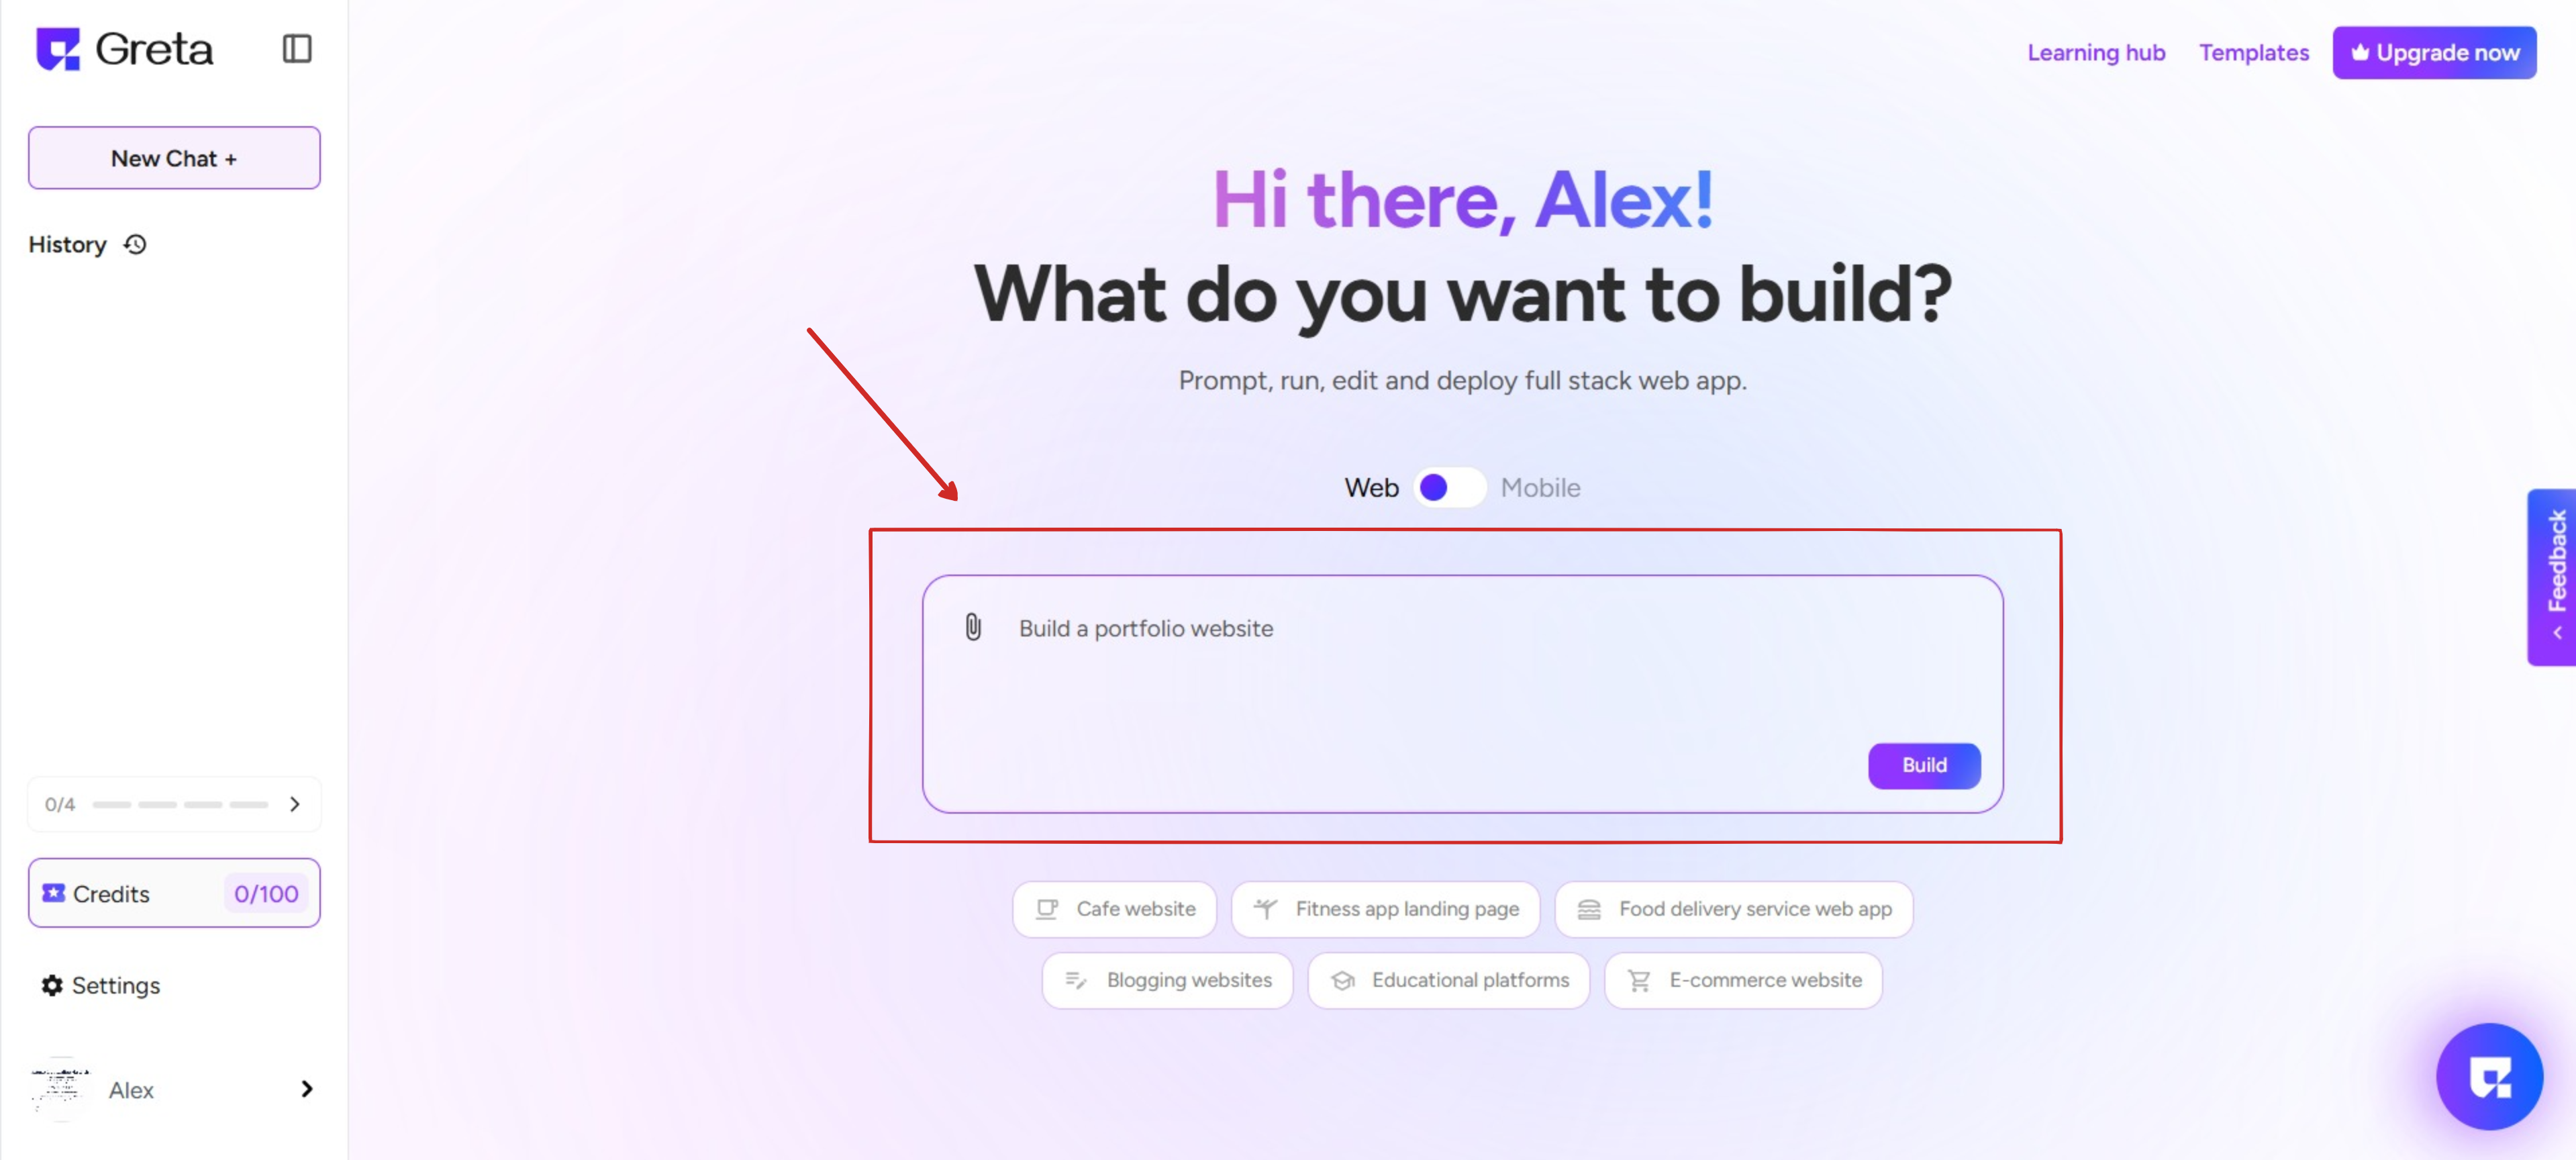
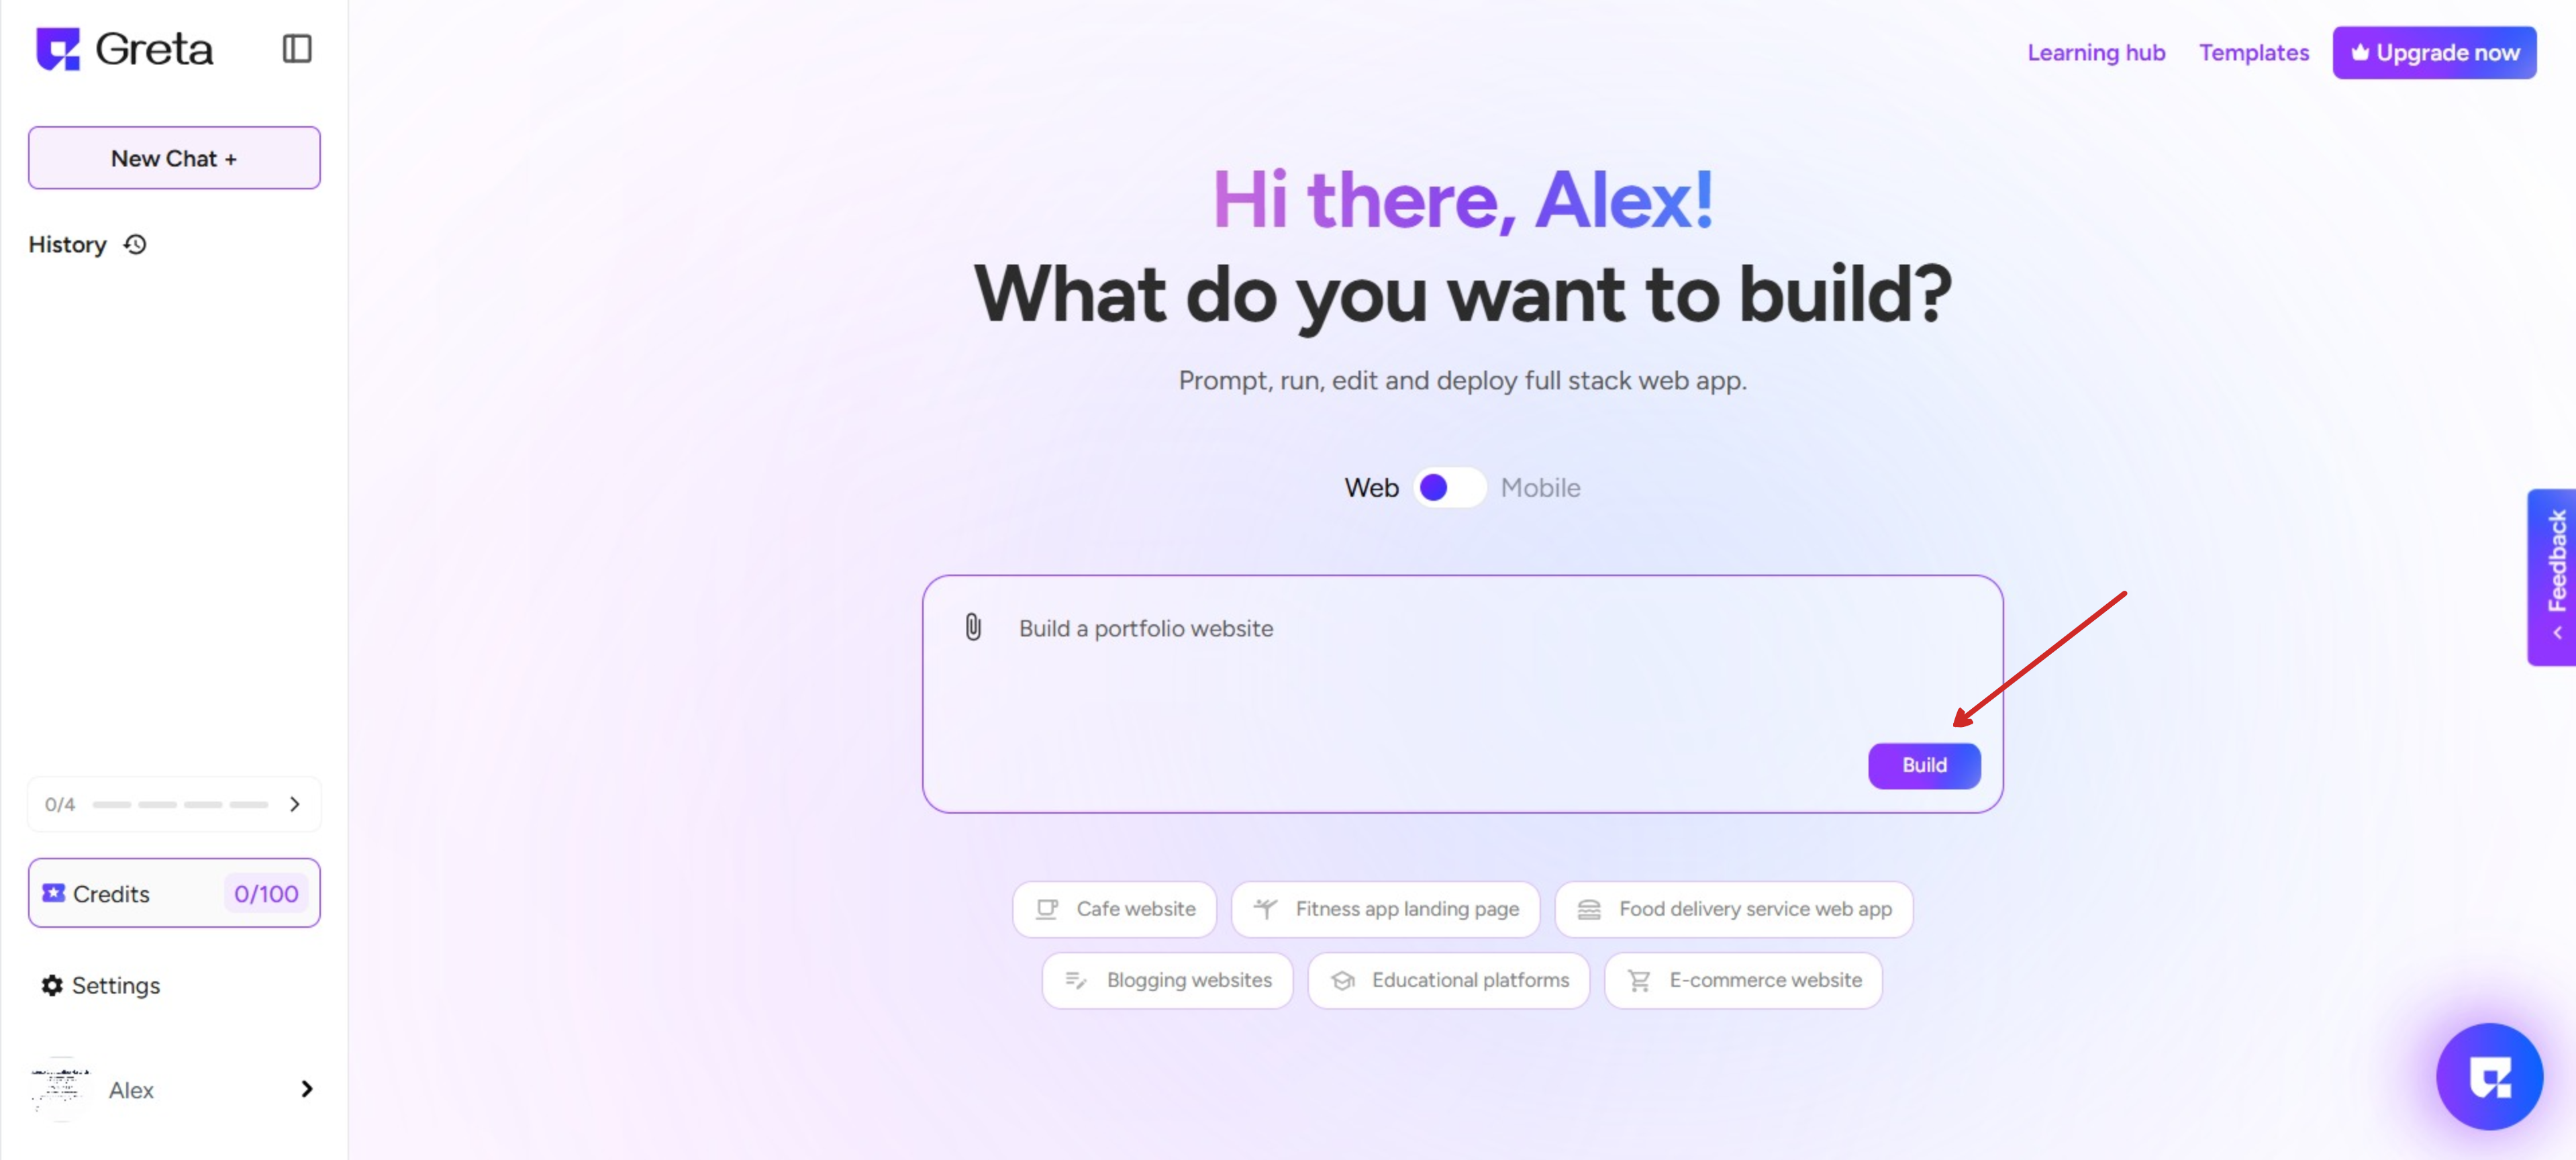
- After logging in, you’ll be taken to the landing page which has different sections in it.The left side panel displays New chat, existing projects, and the history of all projects you've created before.
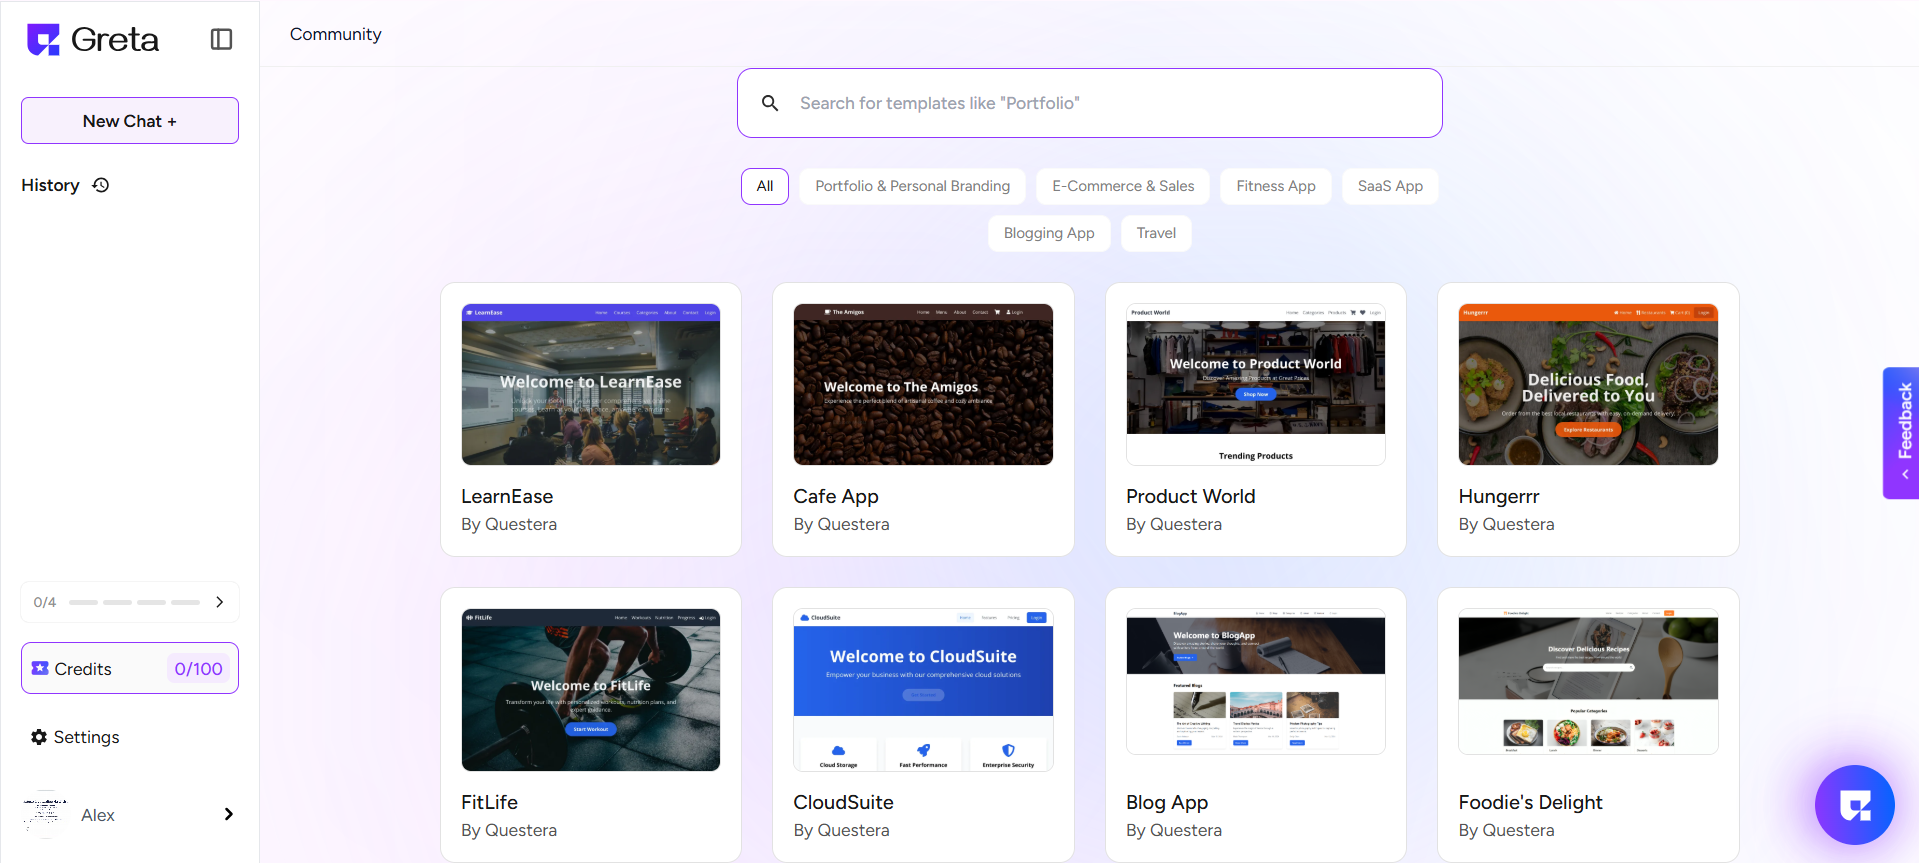
- In the center of the page, you can find a text field where you can enter your prompt to create a website. Here, you can start from scratch or choose from Greta’s pre-designed templates to match your needs.
Step 3: Build your website
- After you select an existing template or enter the prompt, click “Build”, and Greta will set up your project.
- Once it is done, your new website is now ready to deploy!
- Review your project in the preview, make any necessary changes by chatting with Greta or using the suggested features to enhance your website.
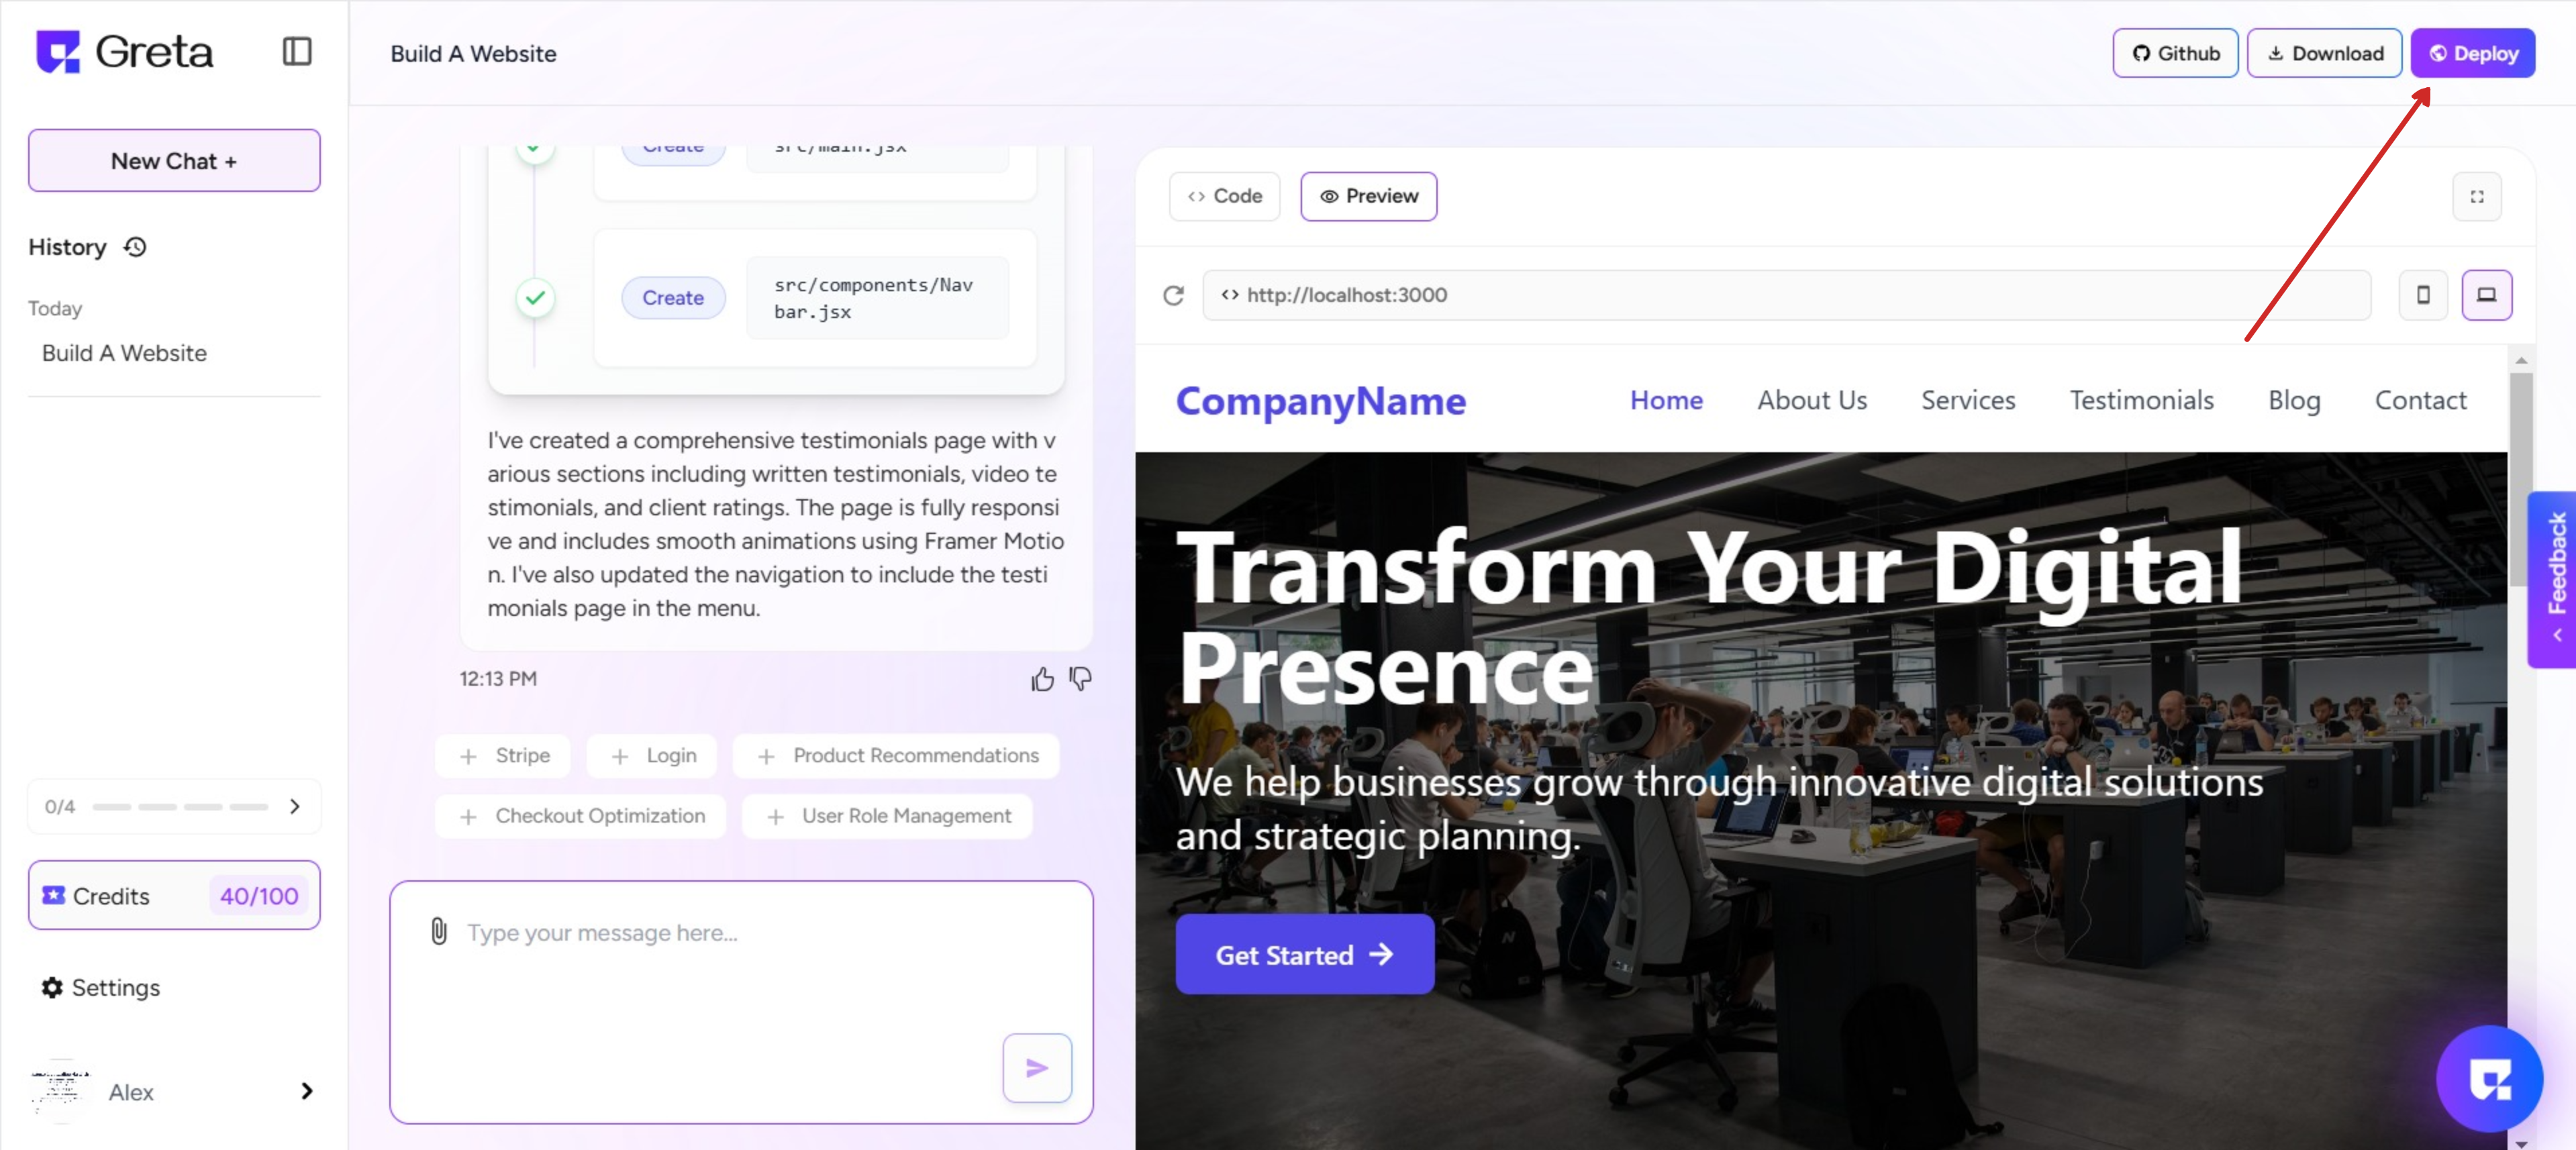
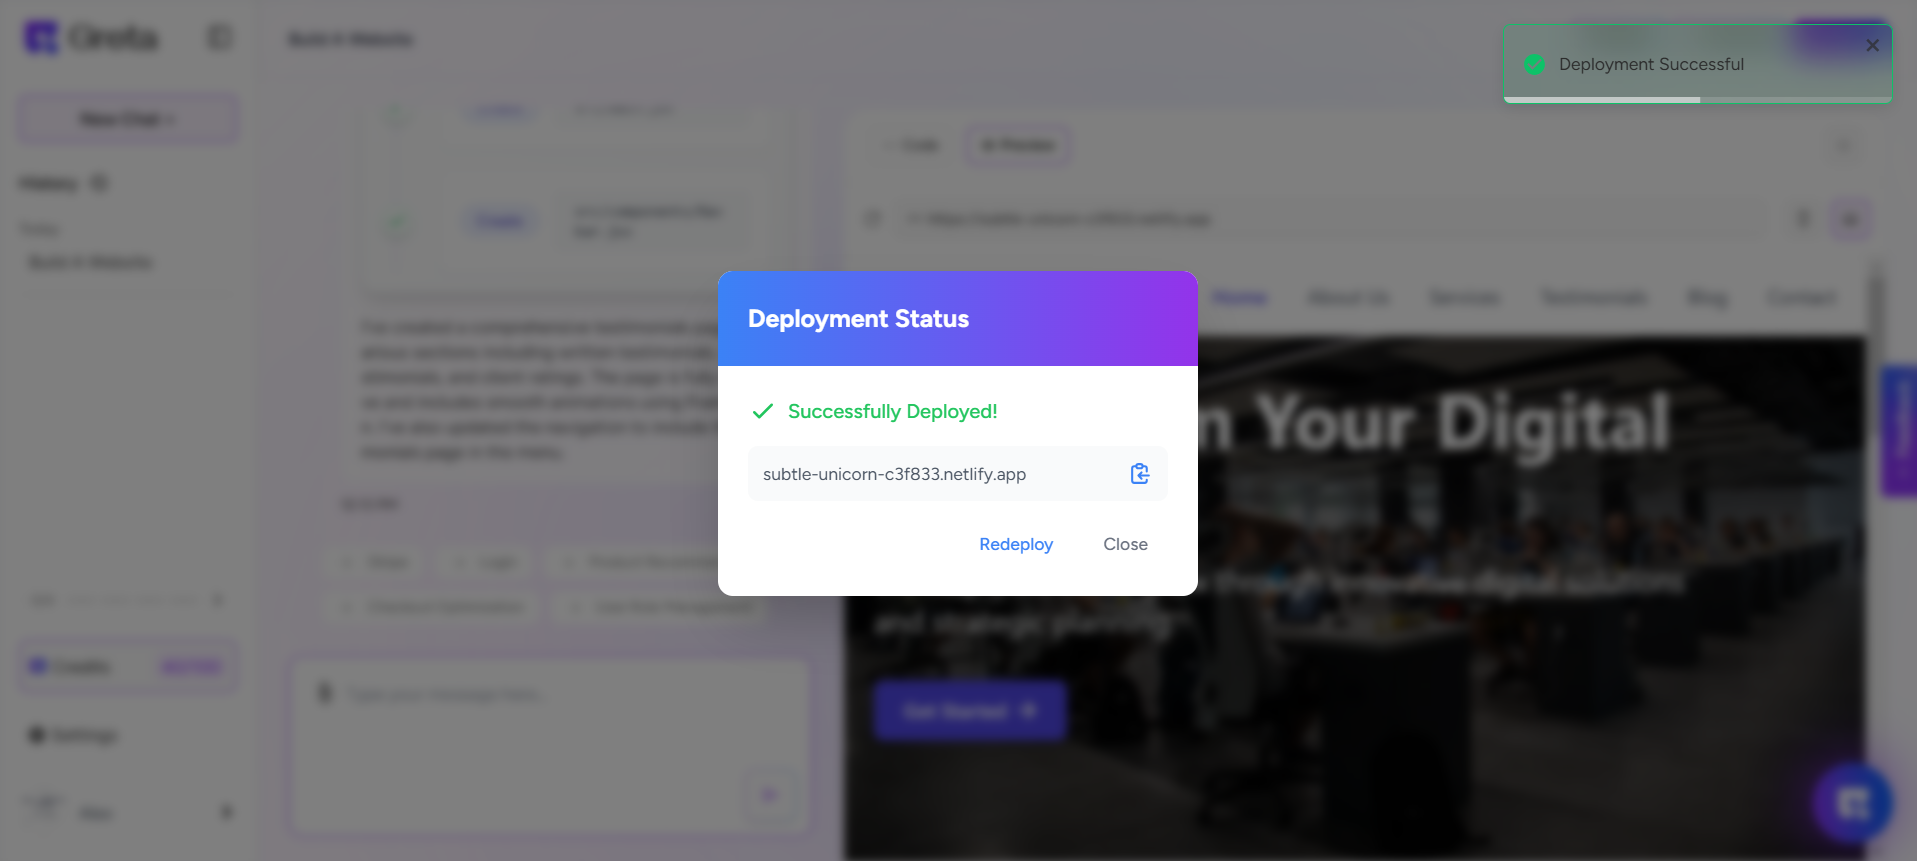
Step 4: Deployment
- Click "Deploy" on the top right to make your site live, copy the live URL, and optionally push your code to GitHub for version control.