How can I add and customize the components on my website using Greta?
Find out how to add and customize a components on your website using Greta's authentication features.
How can I add and customize the components on my website using Greta?
Adding a feature to your website with Greta is simple and customizable. Follow these four steps to integrate and edit the login page as per your needs:
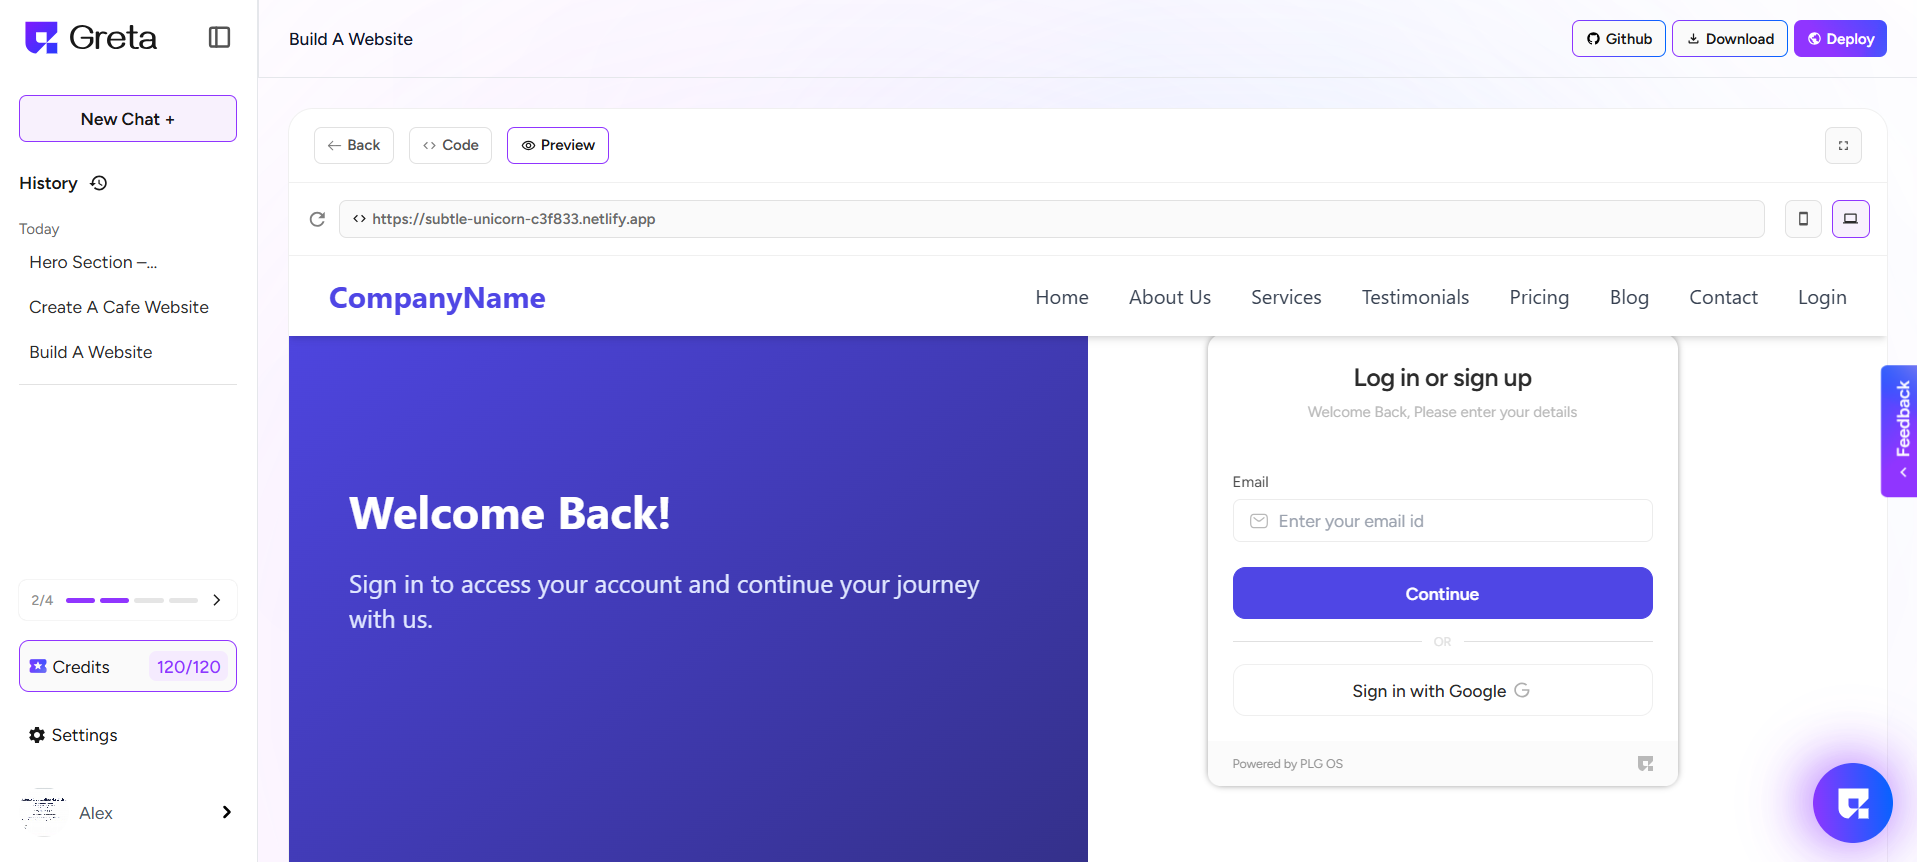
Step 1: Select the Login Component
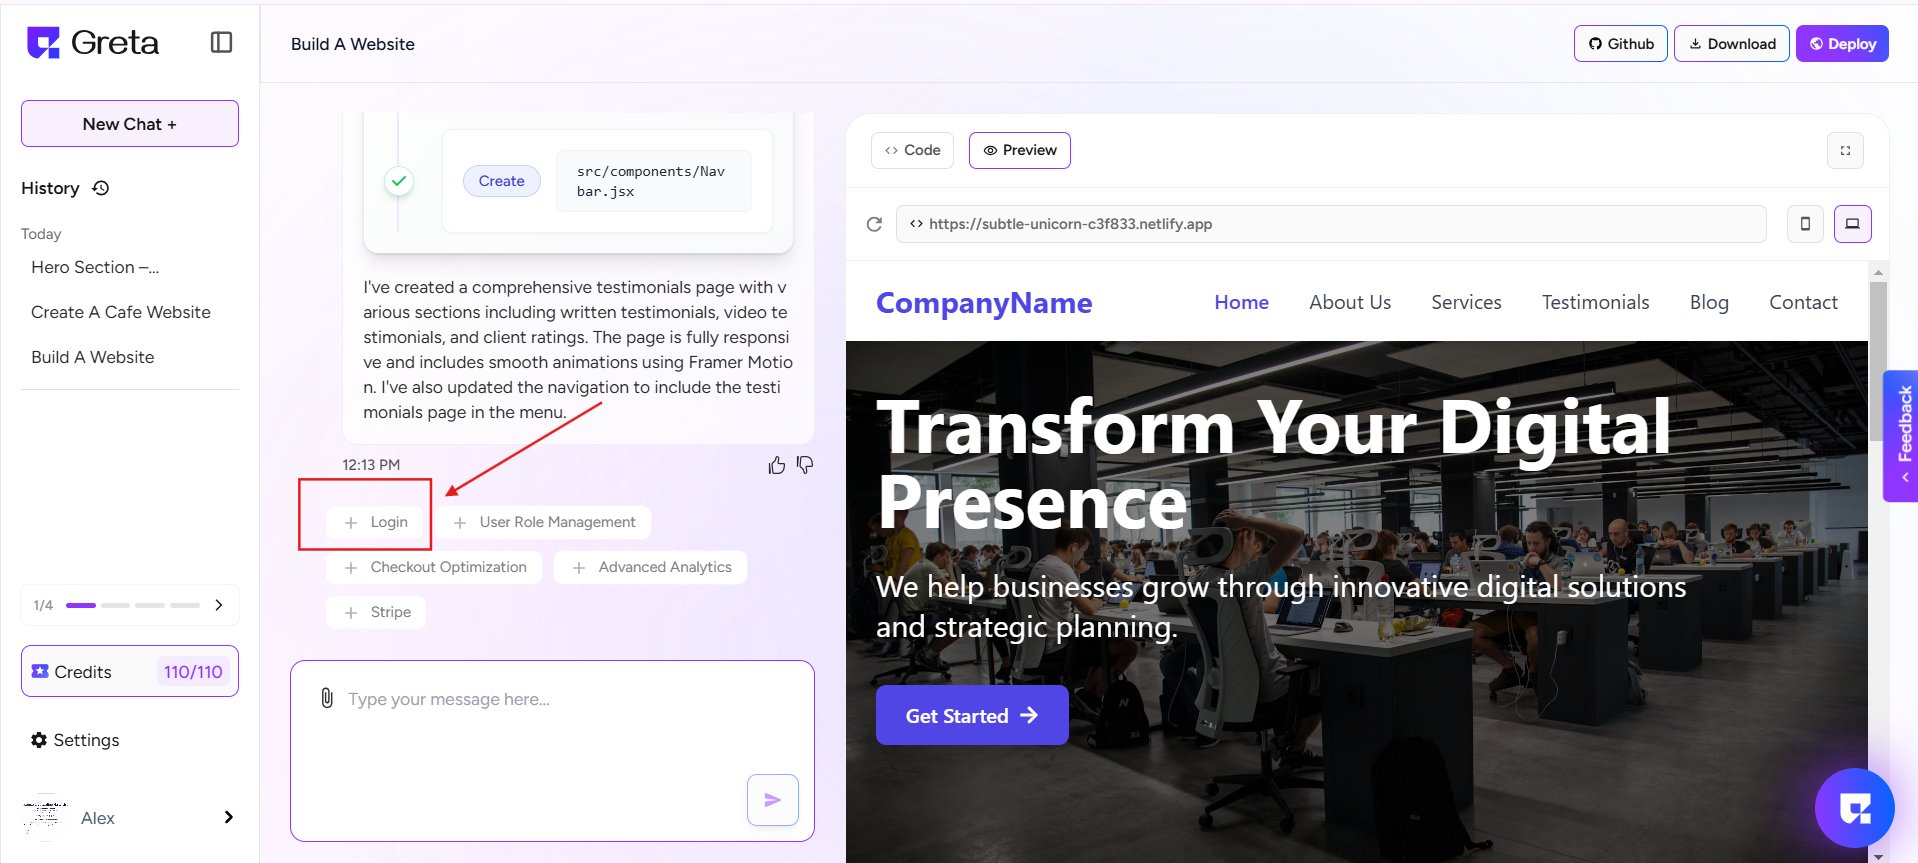
After prompting and building your website with Greta, you will see a list of suggested components above the prompt tab. Click on any component you want to integrate, for example clicking on login, A login component will be added to your website automatically.
Step 2: Access Plgos to Edit the Login Page
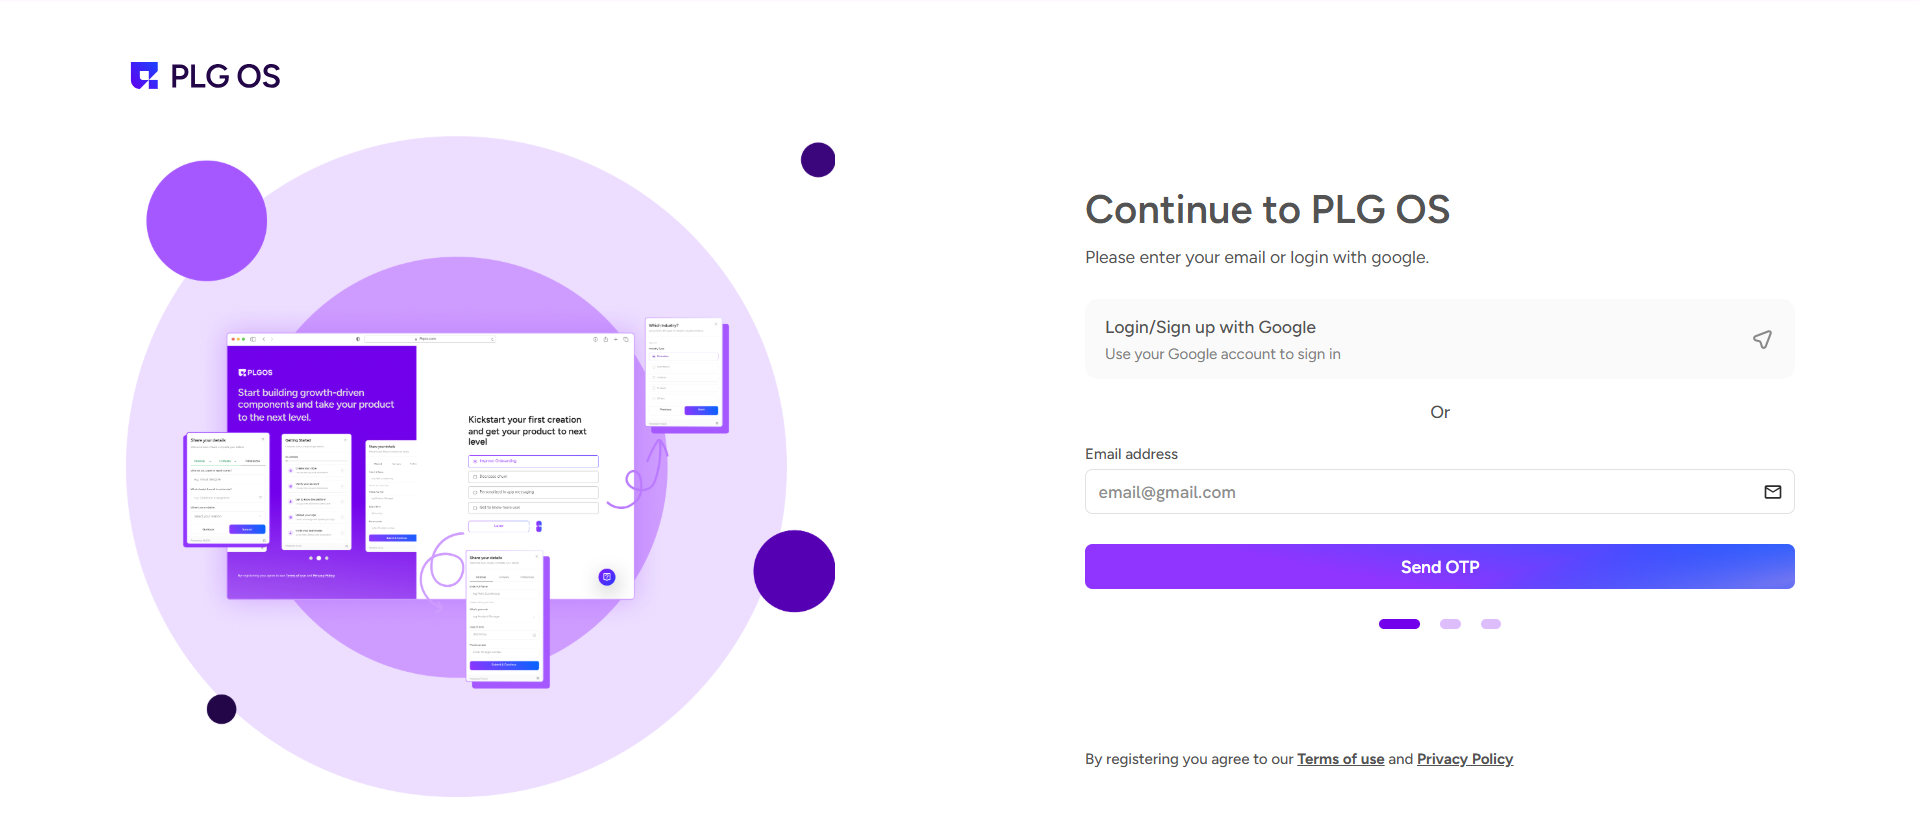
If you want to customize the login page, you need to log in to PLGOS. Use the same credentials you used for Greta to sign in. Once logged in, you will be able to access and modify your login settings.
Step 3: Locate the Login Campaign
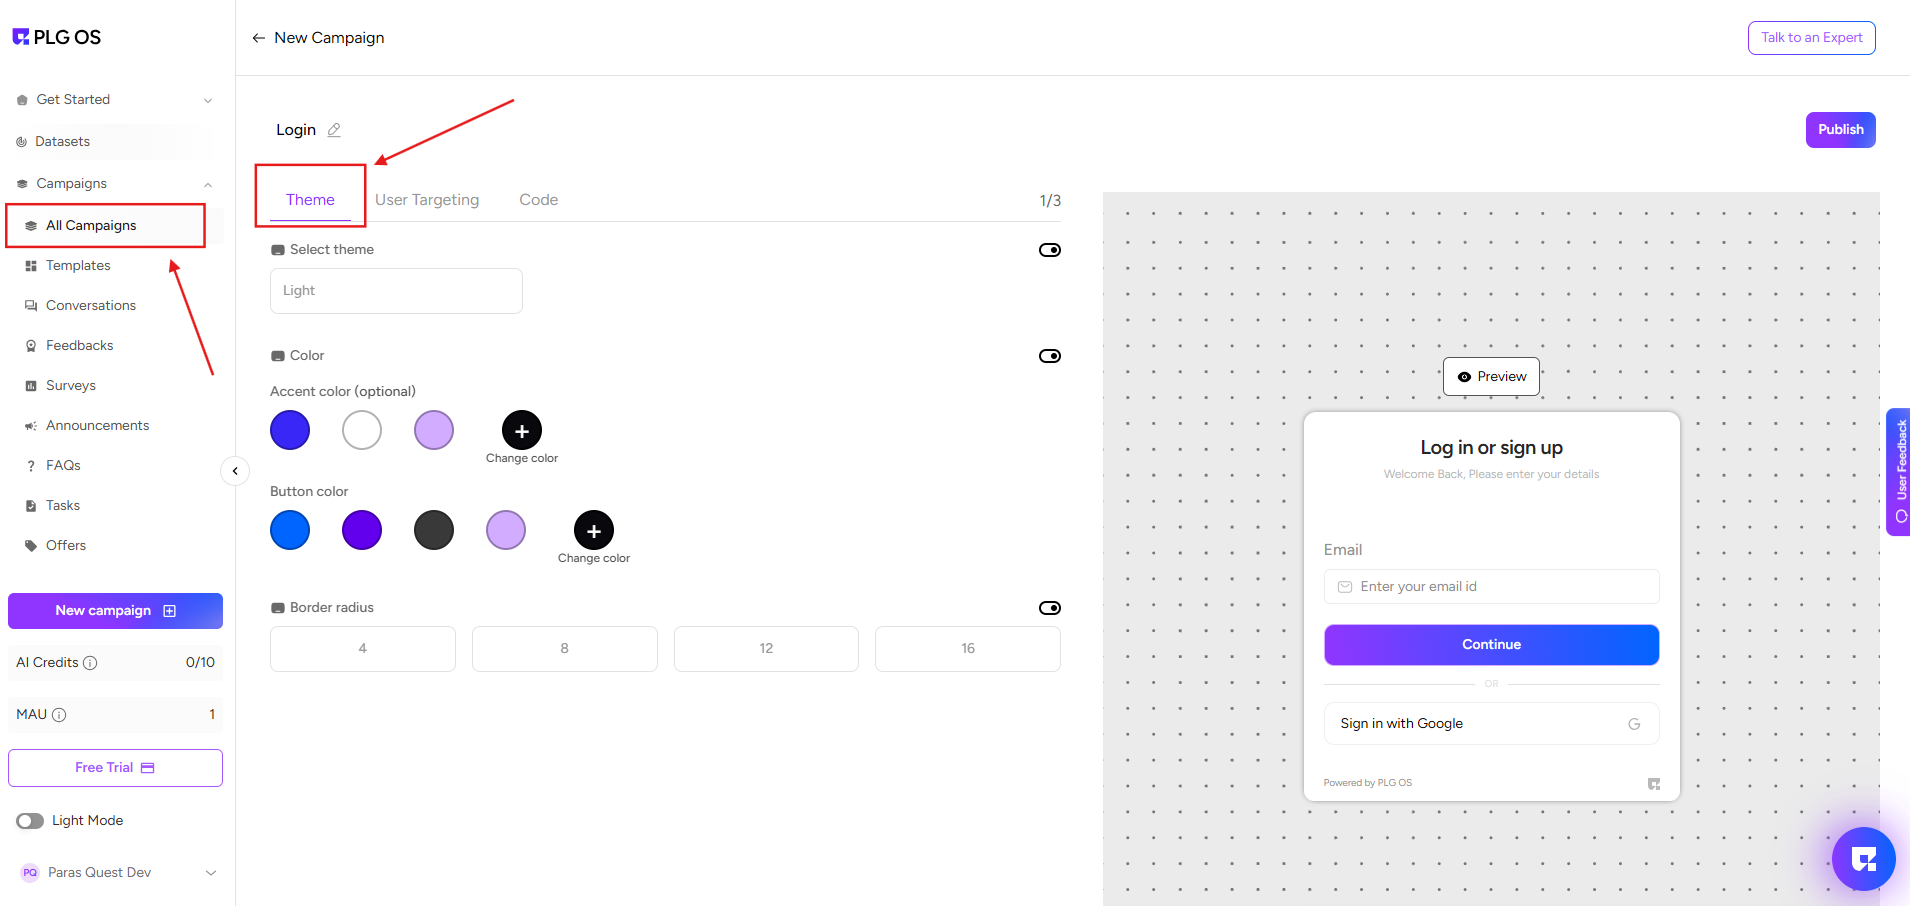
On the left side of the Plgos dashboard, click on "All Campaigns". This will display a list of active campaigns, including the Login Campaign being used on your website.
Step 4: Edit and Save Your Login Page
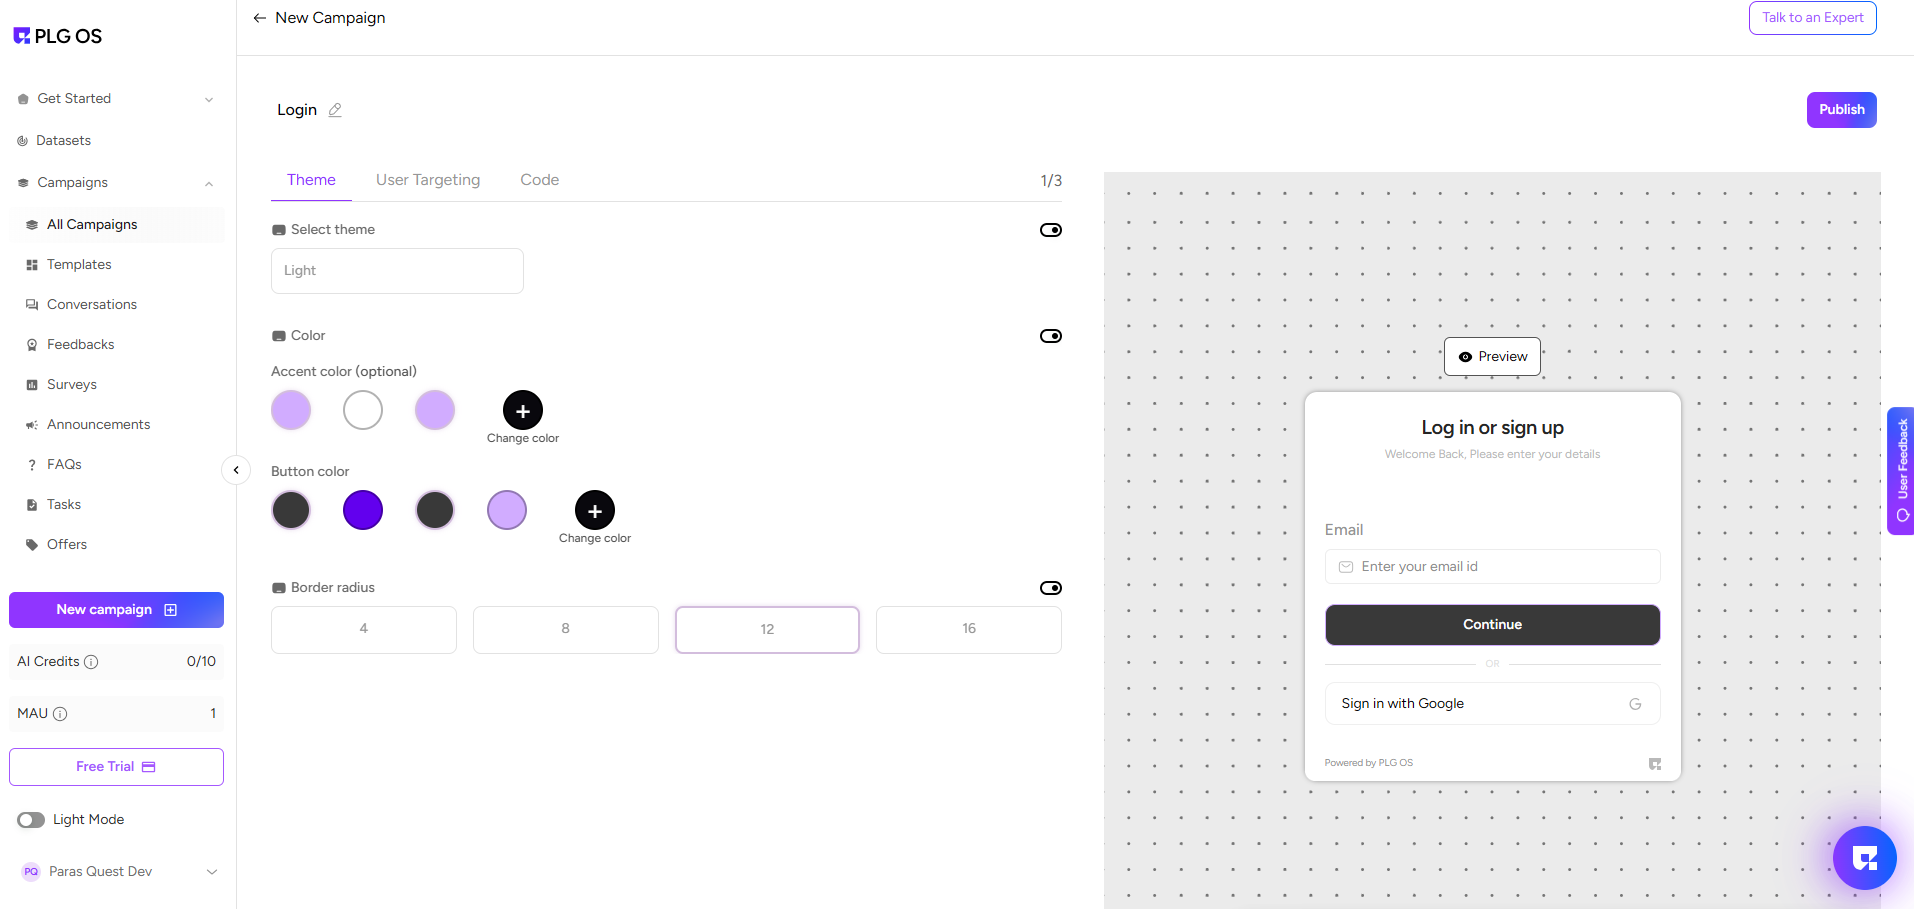
Click on the theme to make changes according to your requirements. You can modify the design, text, and authentication settings as needed. Once you have customized the login page, save your changes, and they will be applied to your website instantly.