Building & Deploying a Website with Greta
How can I add a help hub and customize the components on my website using Greta?
Find out how to add and customize a help hub on your website using Greta's authentication features.
How can I add a help hub and customize the components on my website using Greta?
Find out how to add and customize a help hub on your website using Greta’s authentication features, follow these four steps:
Step 1: Select the Help Hub Component
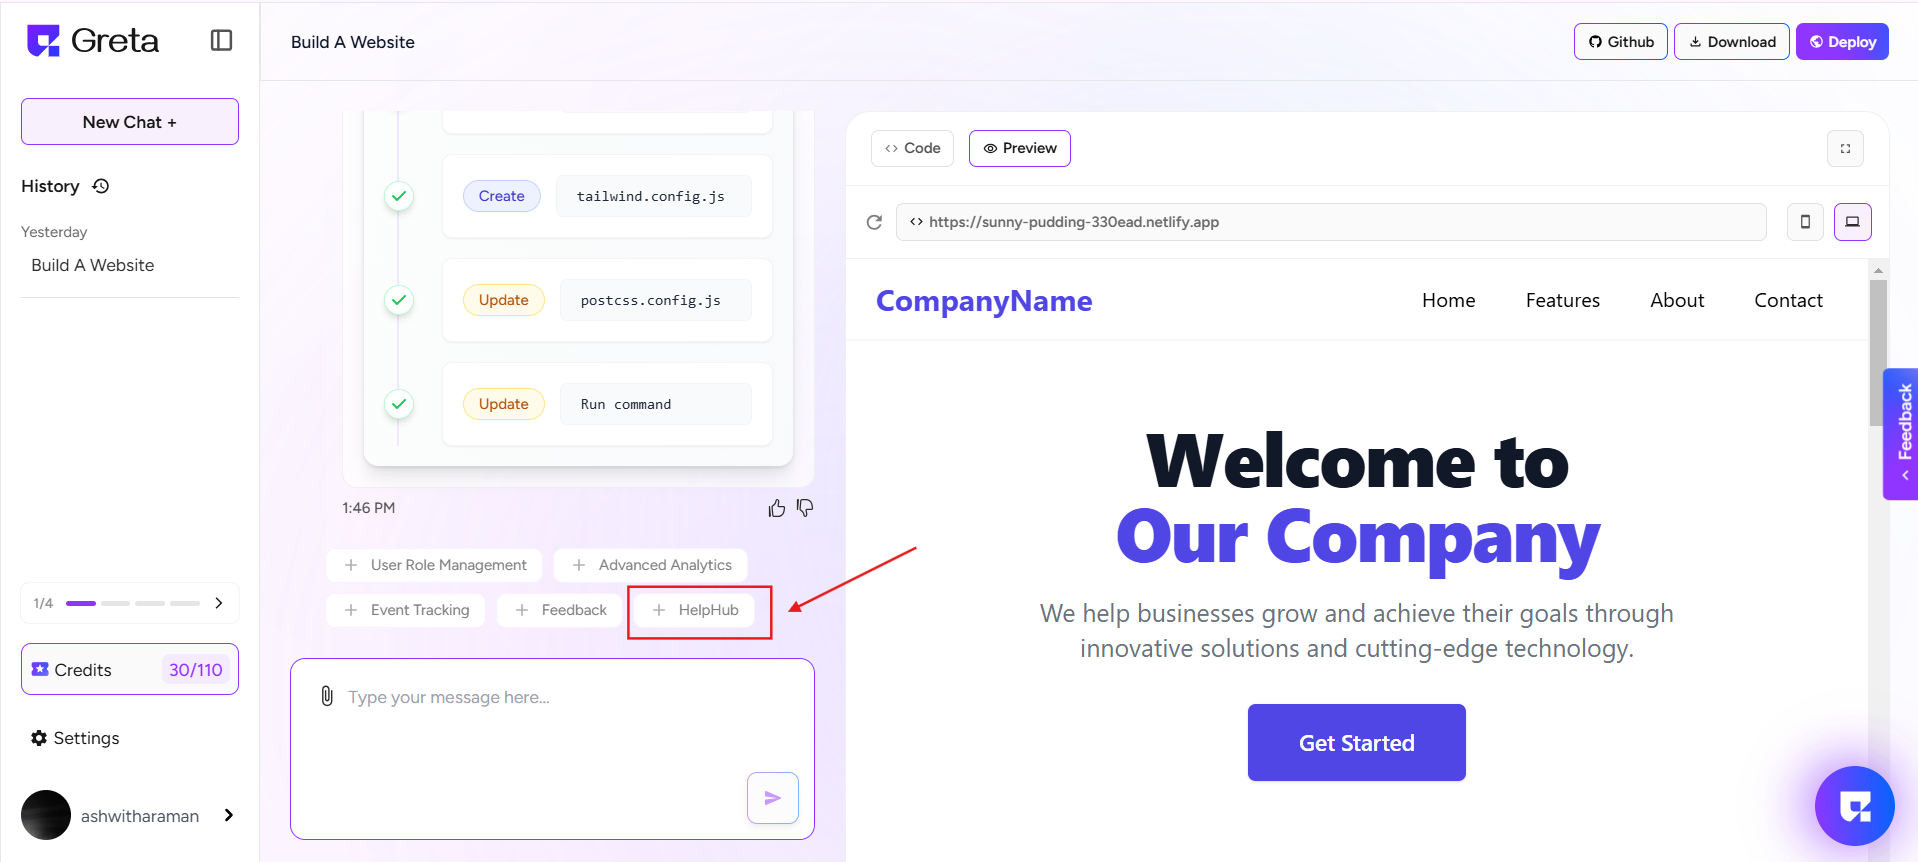
- After setting up your website with Greta, you’ll see a list of suggested components above the prompt tab.
- Look for the Help Hub Component and click on it to integrate it into your website.
- Once selected, Greta will automatically add the Help Hub to your site. This feature allows your visitors to access FAQs, chat support, updates, and other important resources.
Step 2: Access Plgos to Edit the Help Hub Page
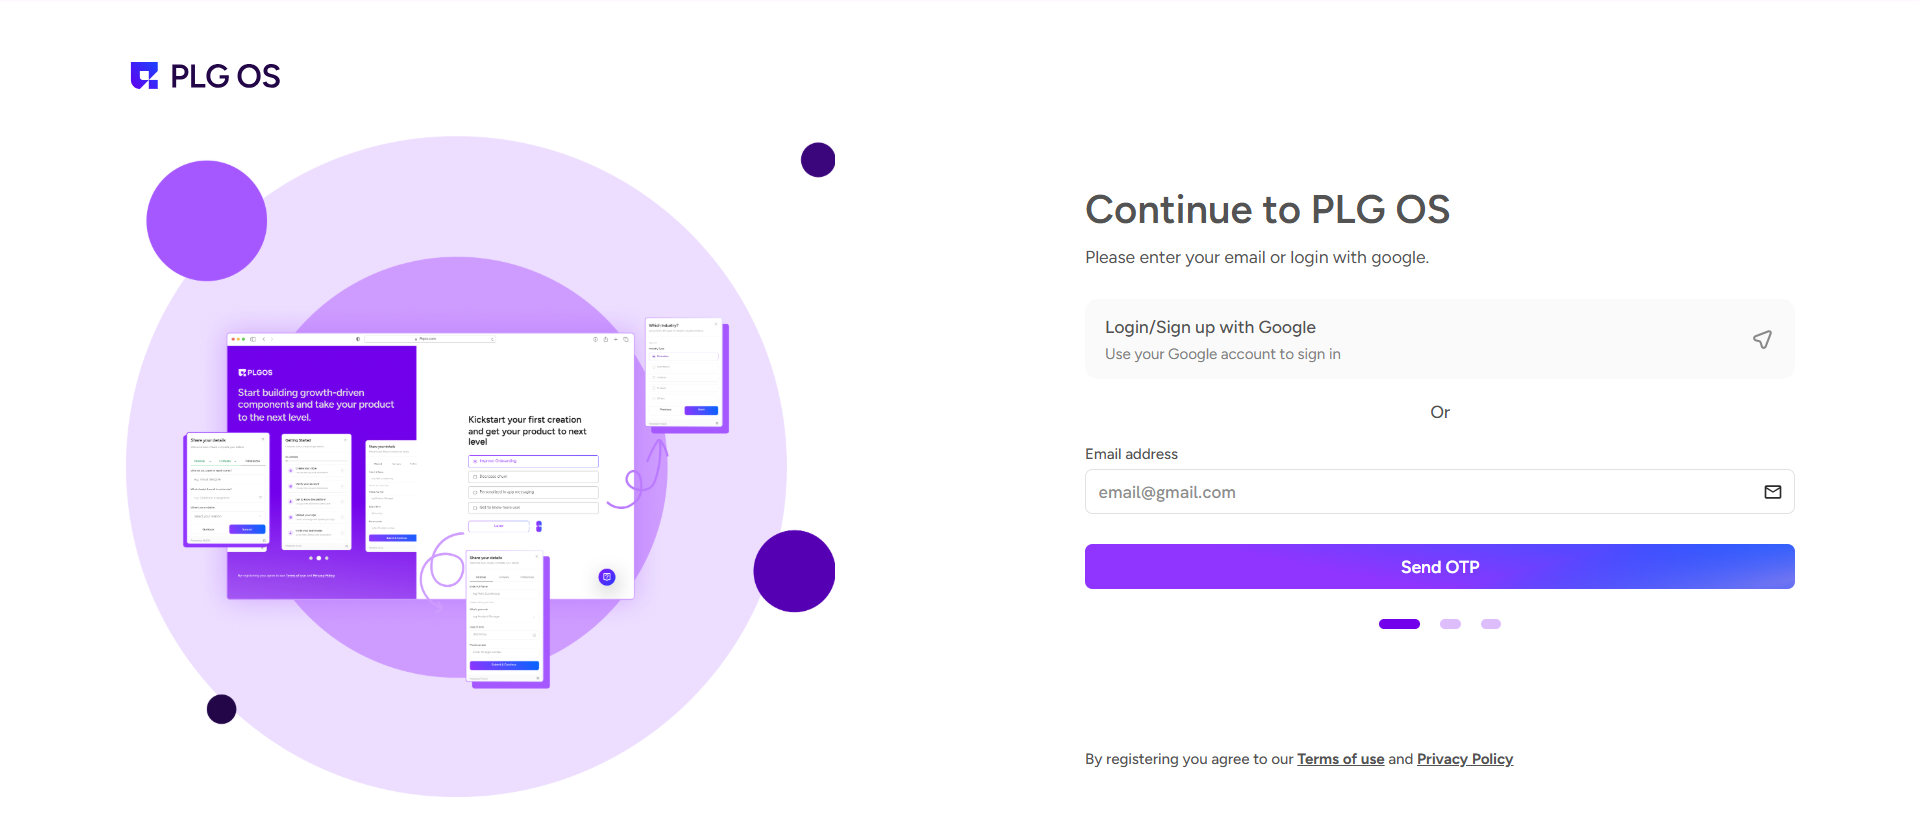
- To customize the Help Hub, you need to log in to Plgos.
- Use the same login credentials that you used for Greta.
- Once logged in, you’ll have full control over your Help Hub settings.
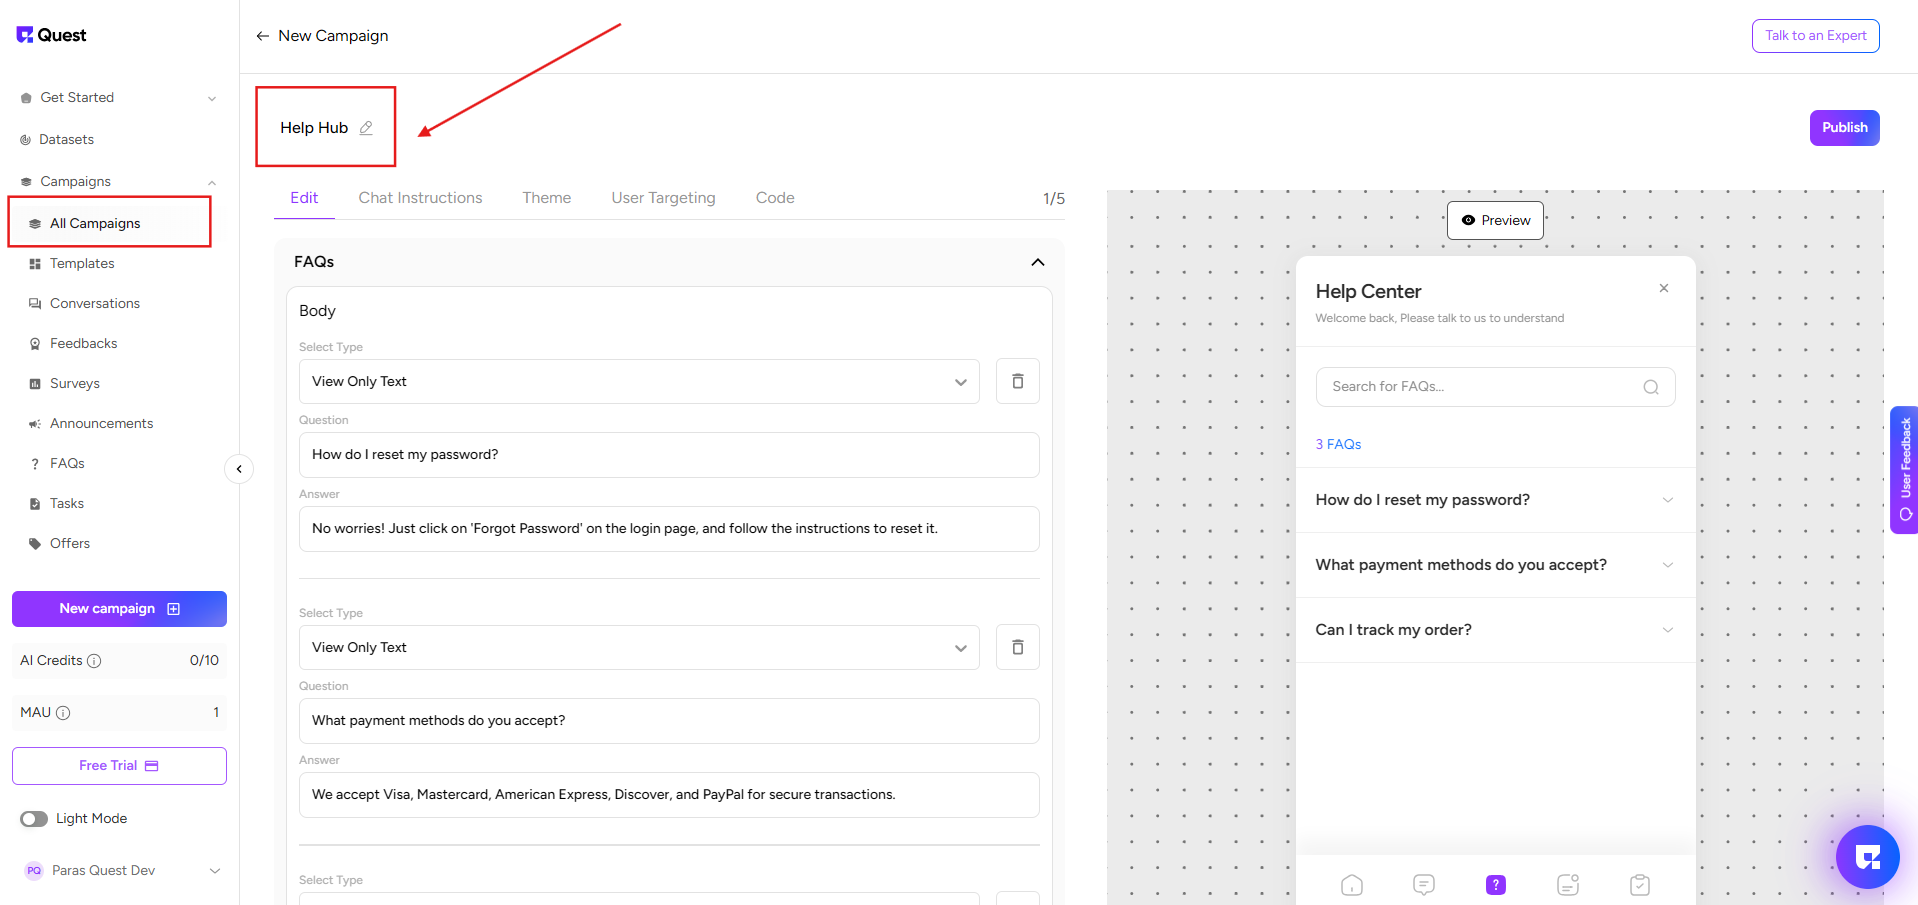
Step 3: Navigate to "All Campaigns" in Plgos
- On the left side of the Plgos dashboard, click on "All Campaigns".
- This will show a list of all active campaigns, including the Help Hub campaign running on your website.
- Click on the Help Hub campaign to start editing.
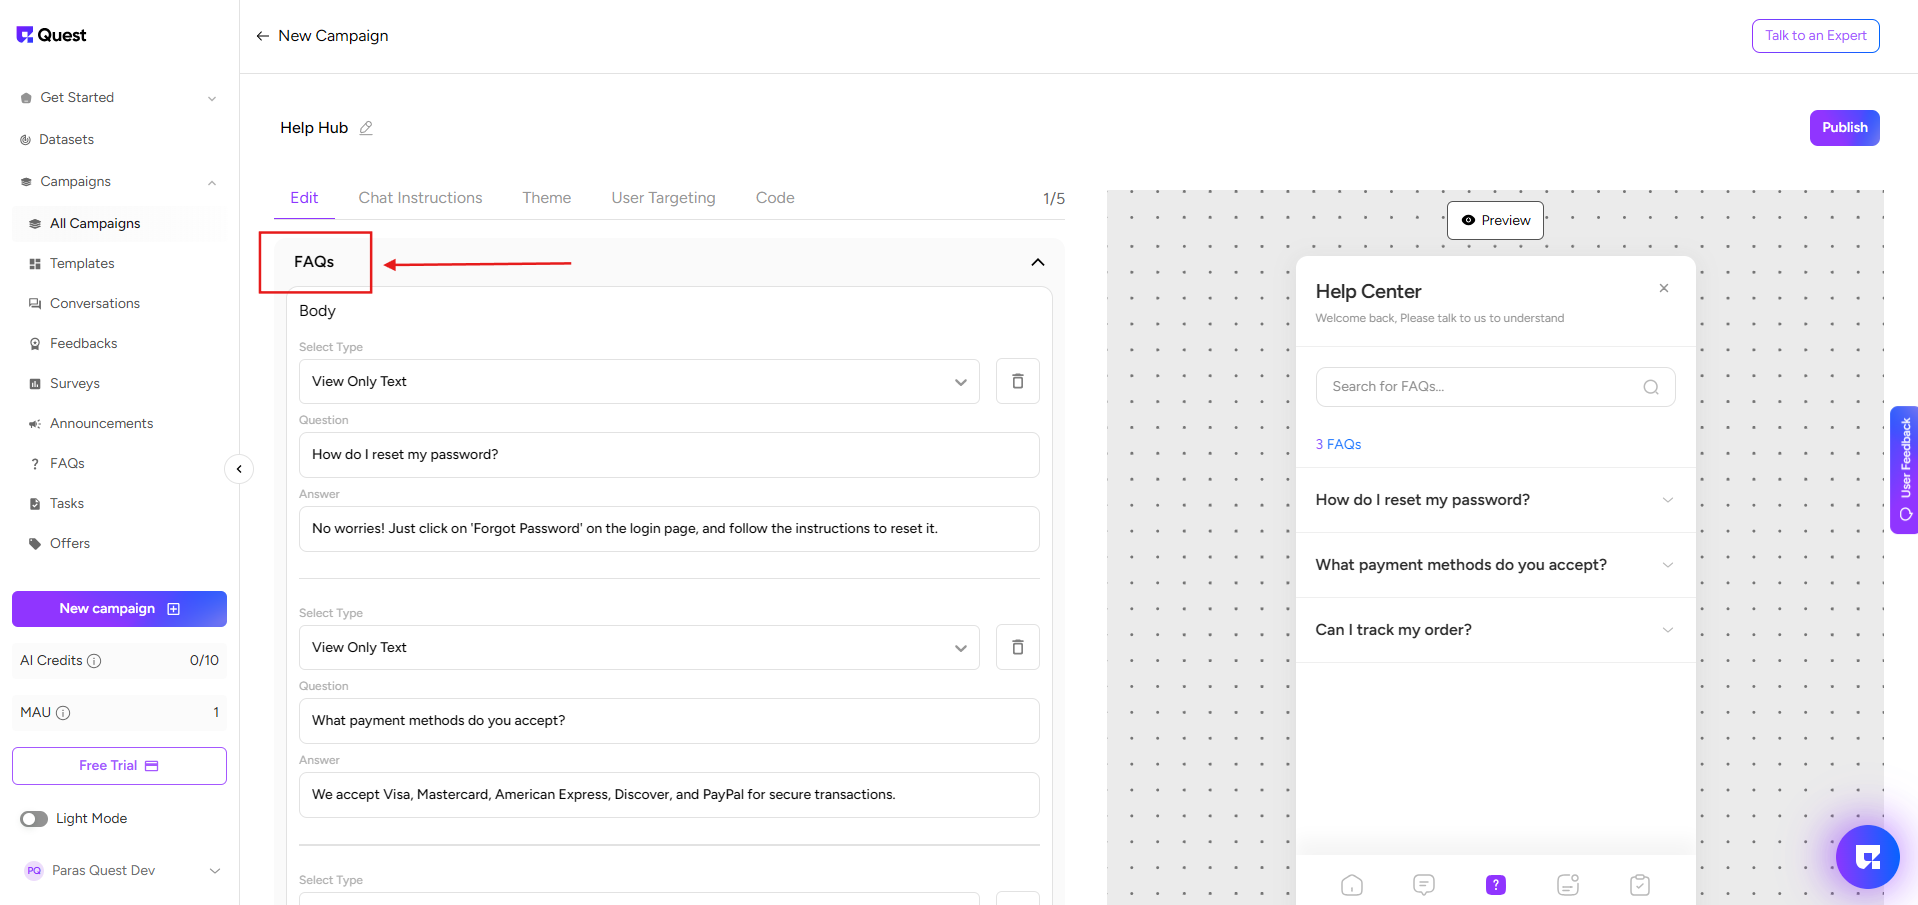
Step 4: Customize the Help Hub Components
- Update the FAQ Page – Add, remove, or edit frequently asked questions to provide accurate answers.
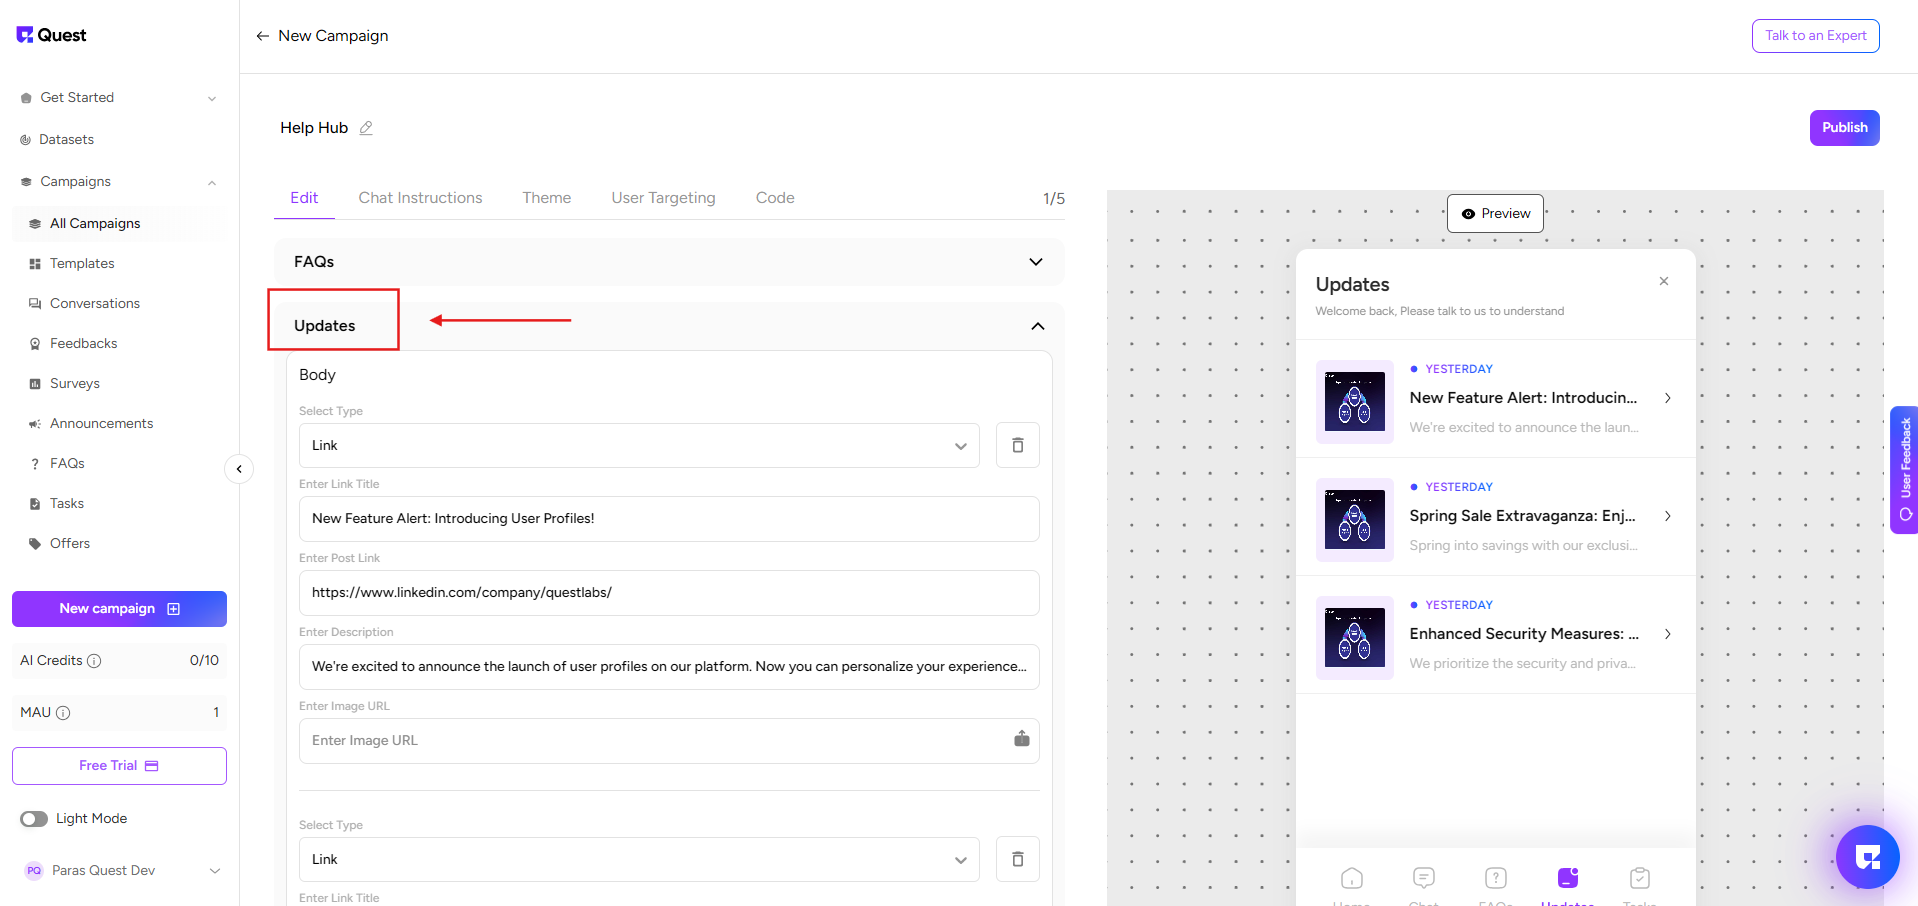
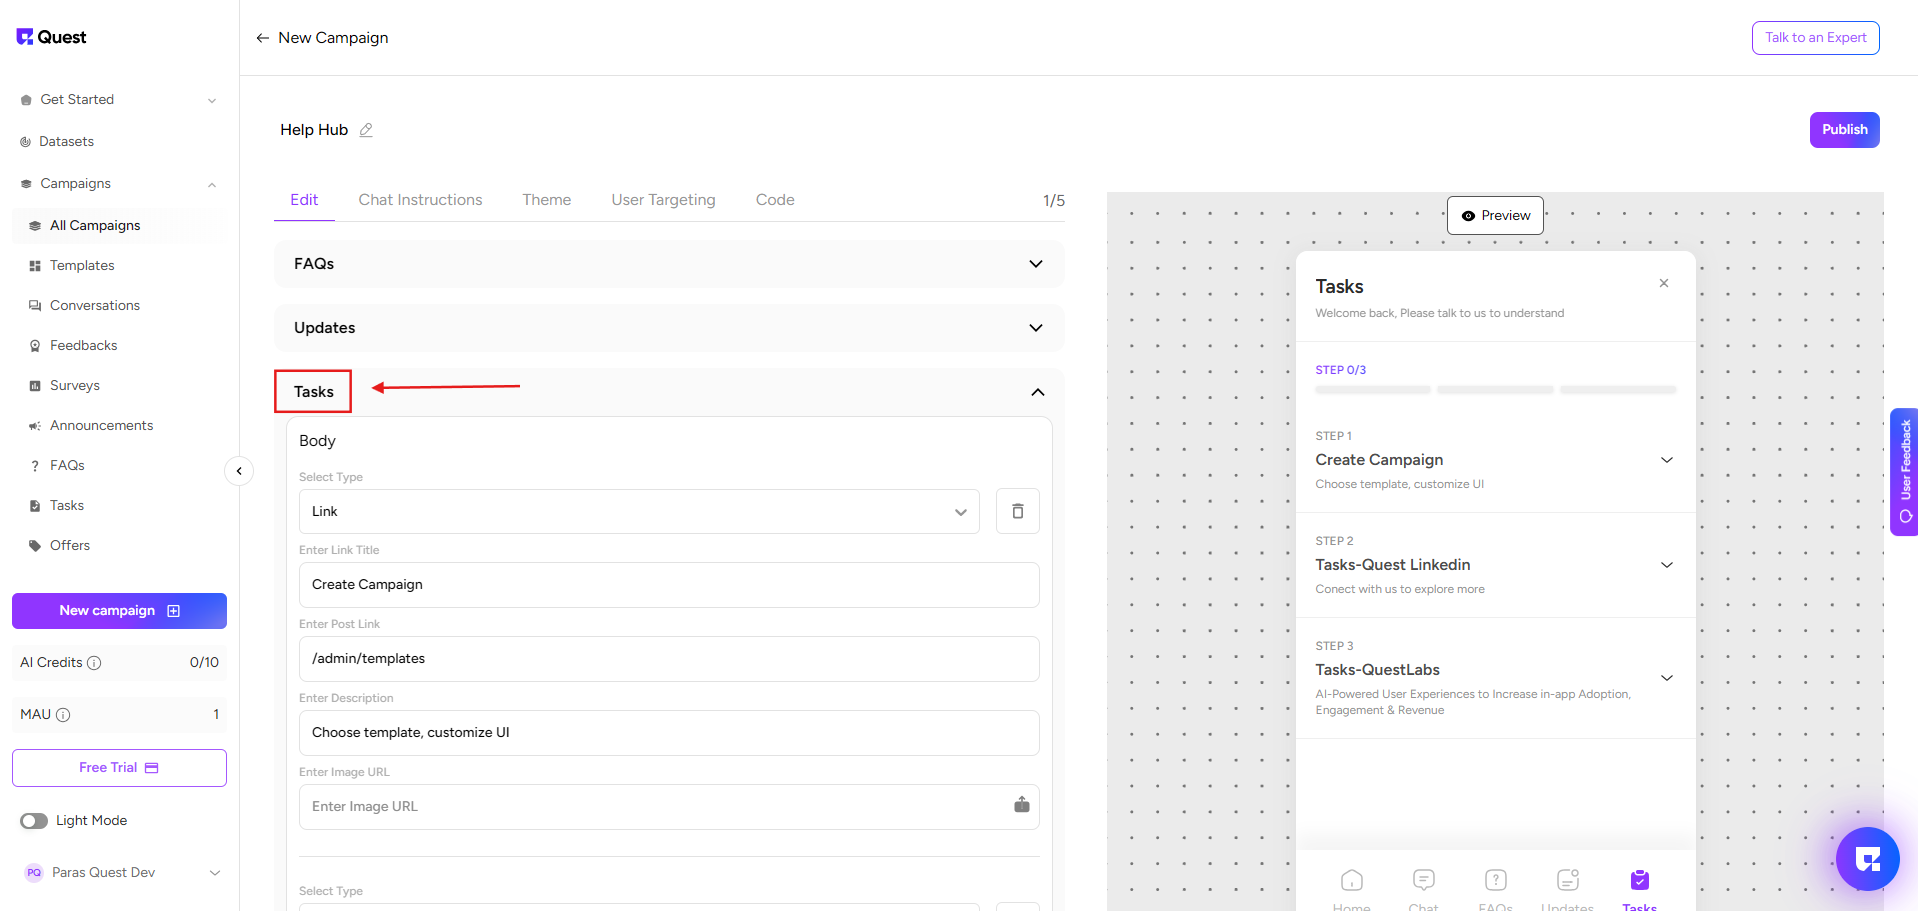
- Manage Updates & Tasks – Share important announcements, product updates, and to-do lists.
- Edit the Chatbot Home Page – Modify the chatbot’s welcome message, responses, and tone.
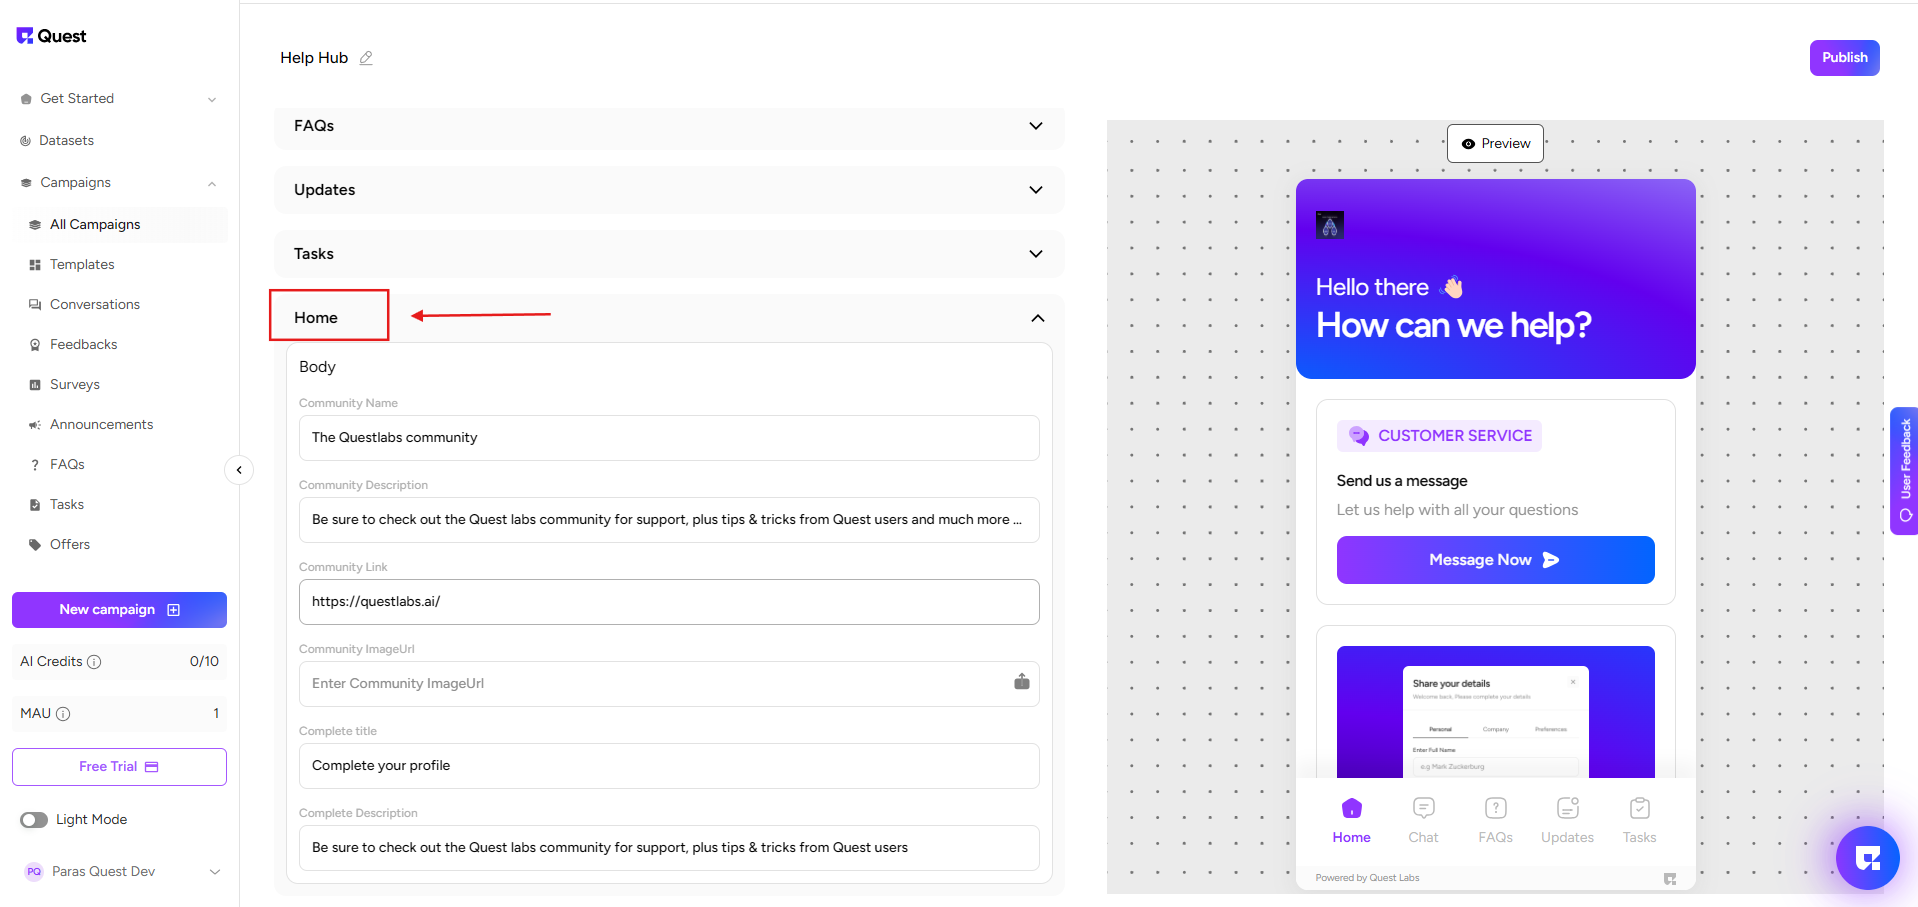
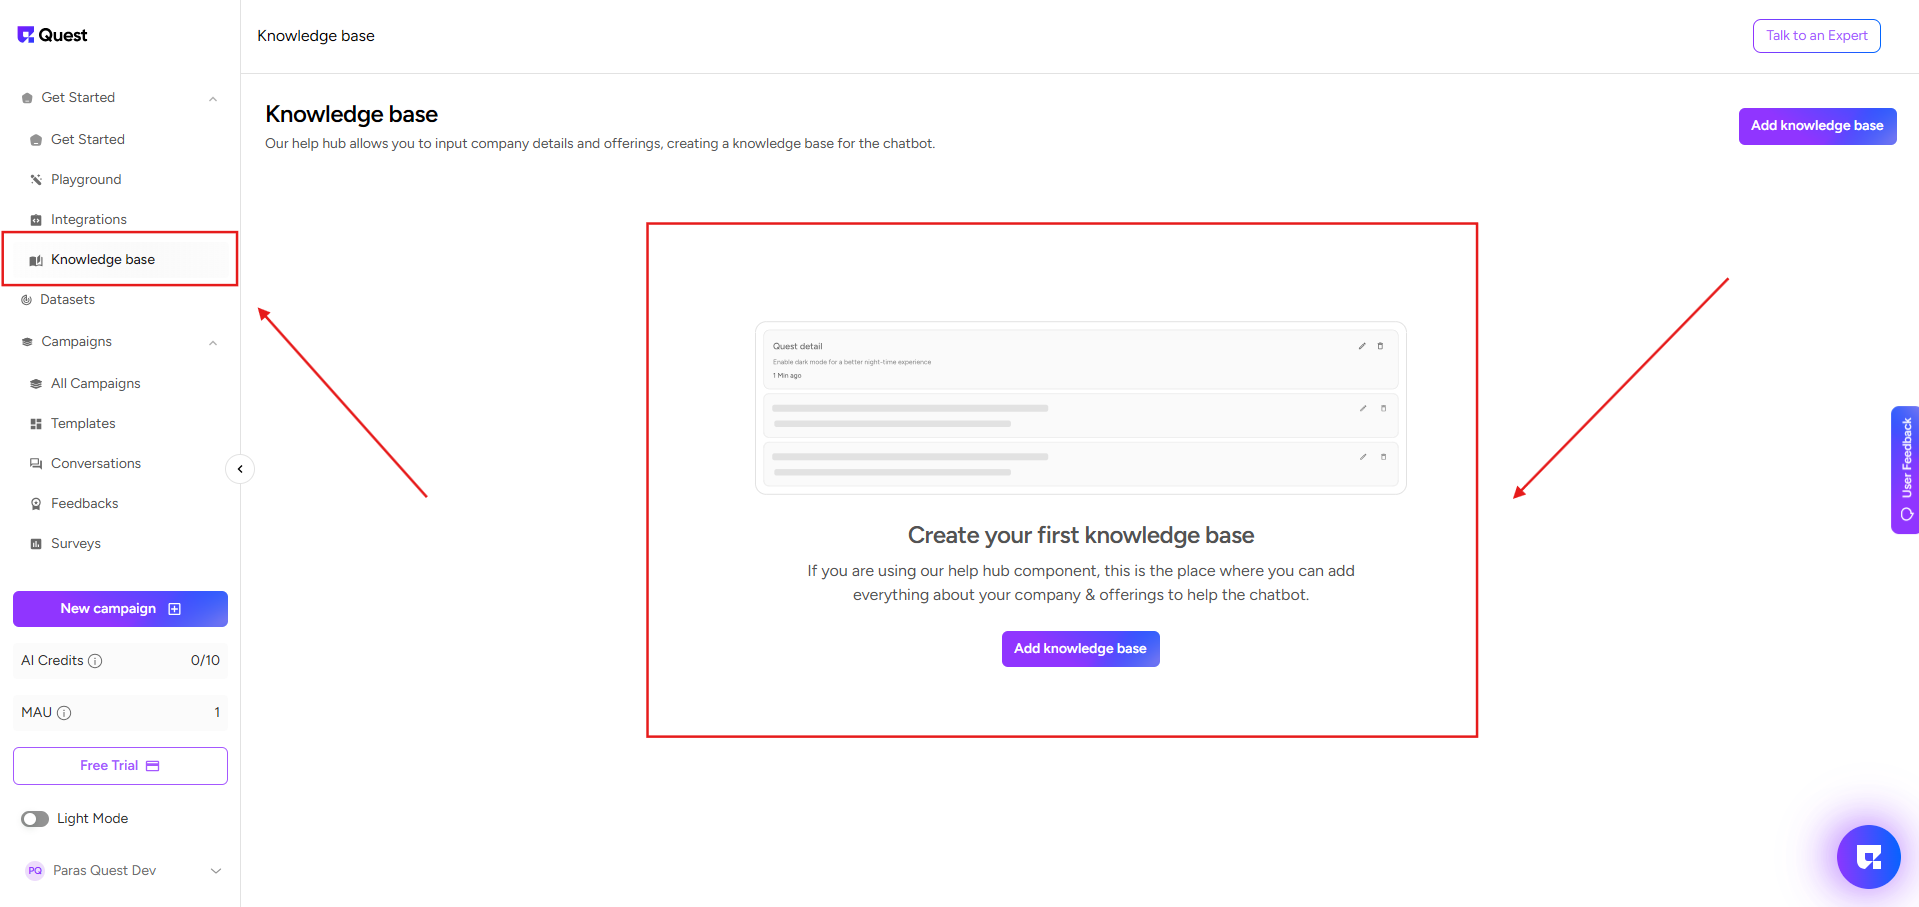
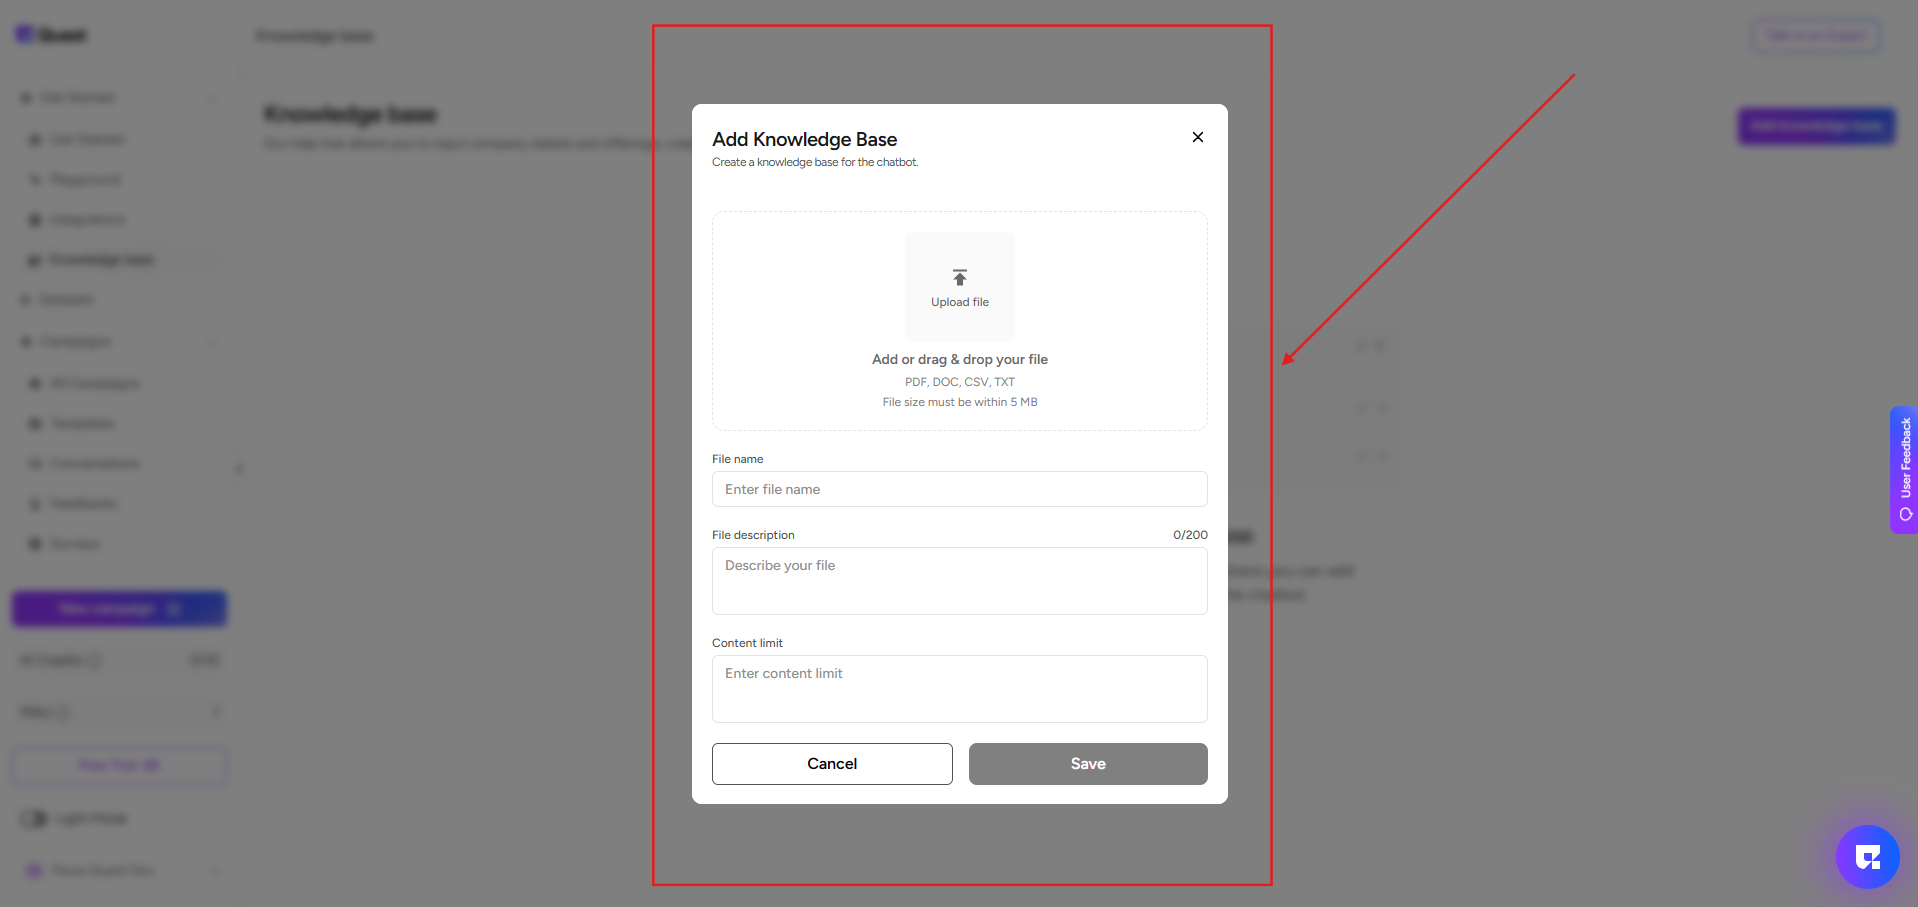
- Add Documents to the Knowledge Base – Upload helpful documents so the AI chatbot can give more precise and accurate answers to users.