Getting Started with Greta
How do you navigate through Greta?
Get familiar with Greta's interface, dashboard, and tools to efficiently navigate and manage your projects.
How do you navigate through greta?
Step 1: Landing Page Overview
Upon logging in, users are directed to the Landing Page, which serves as the main interface. Key features include:
- Access to all previously created projects.
- Options to start new projects seamlessly.
- A clear overview of user activity for efficient management.
Step 2: Navigate Between Sections
Greta's interface is designed for easy access to important features. Here’s how you can move between sections.
- New Chat:Located on the left side , this option lets you create a new project from scratch.
- History:This section allows you to view all past projects you have created, making it easy to manage and edit them.
- Logged-in Profile:At the bottom left corner, you’ll find your profile icon. Click on it to access account settings, preferences, and logout options.
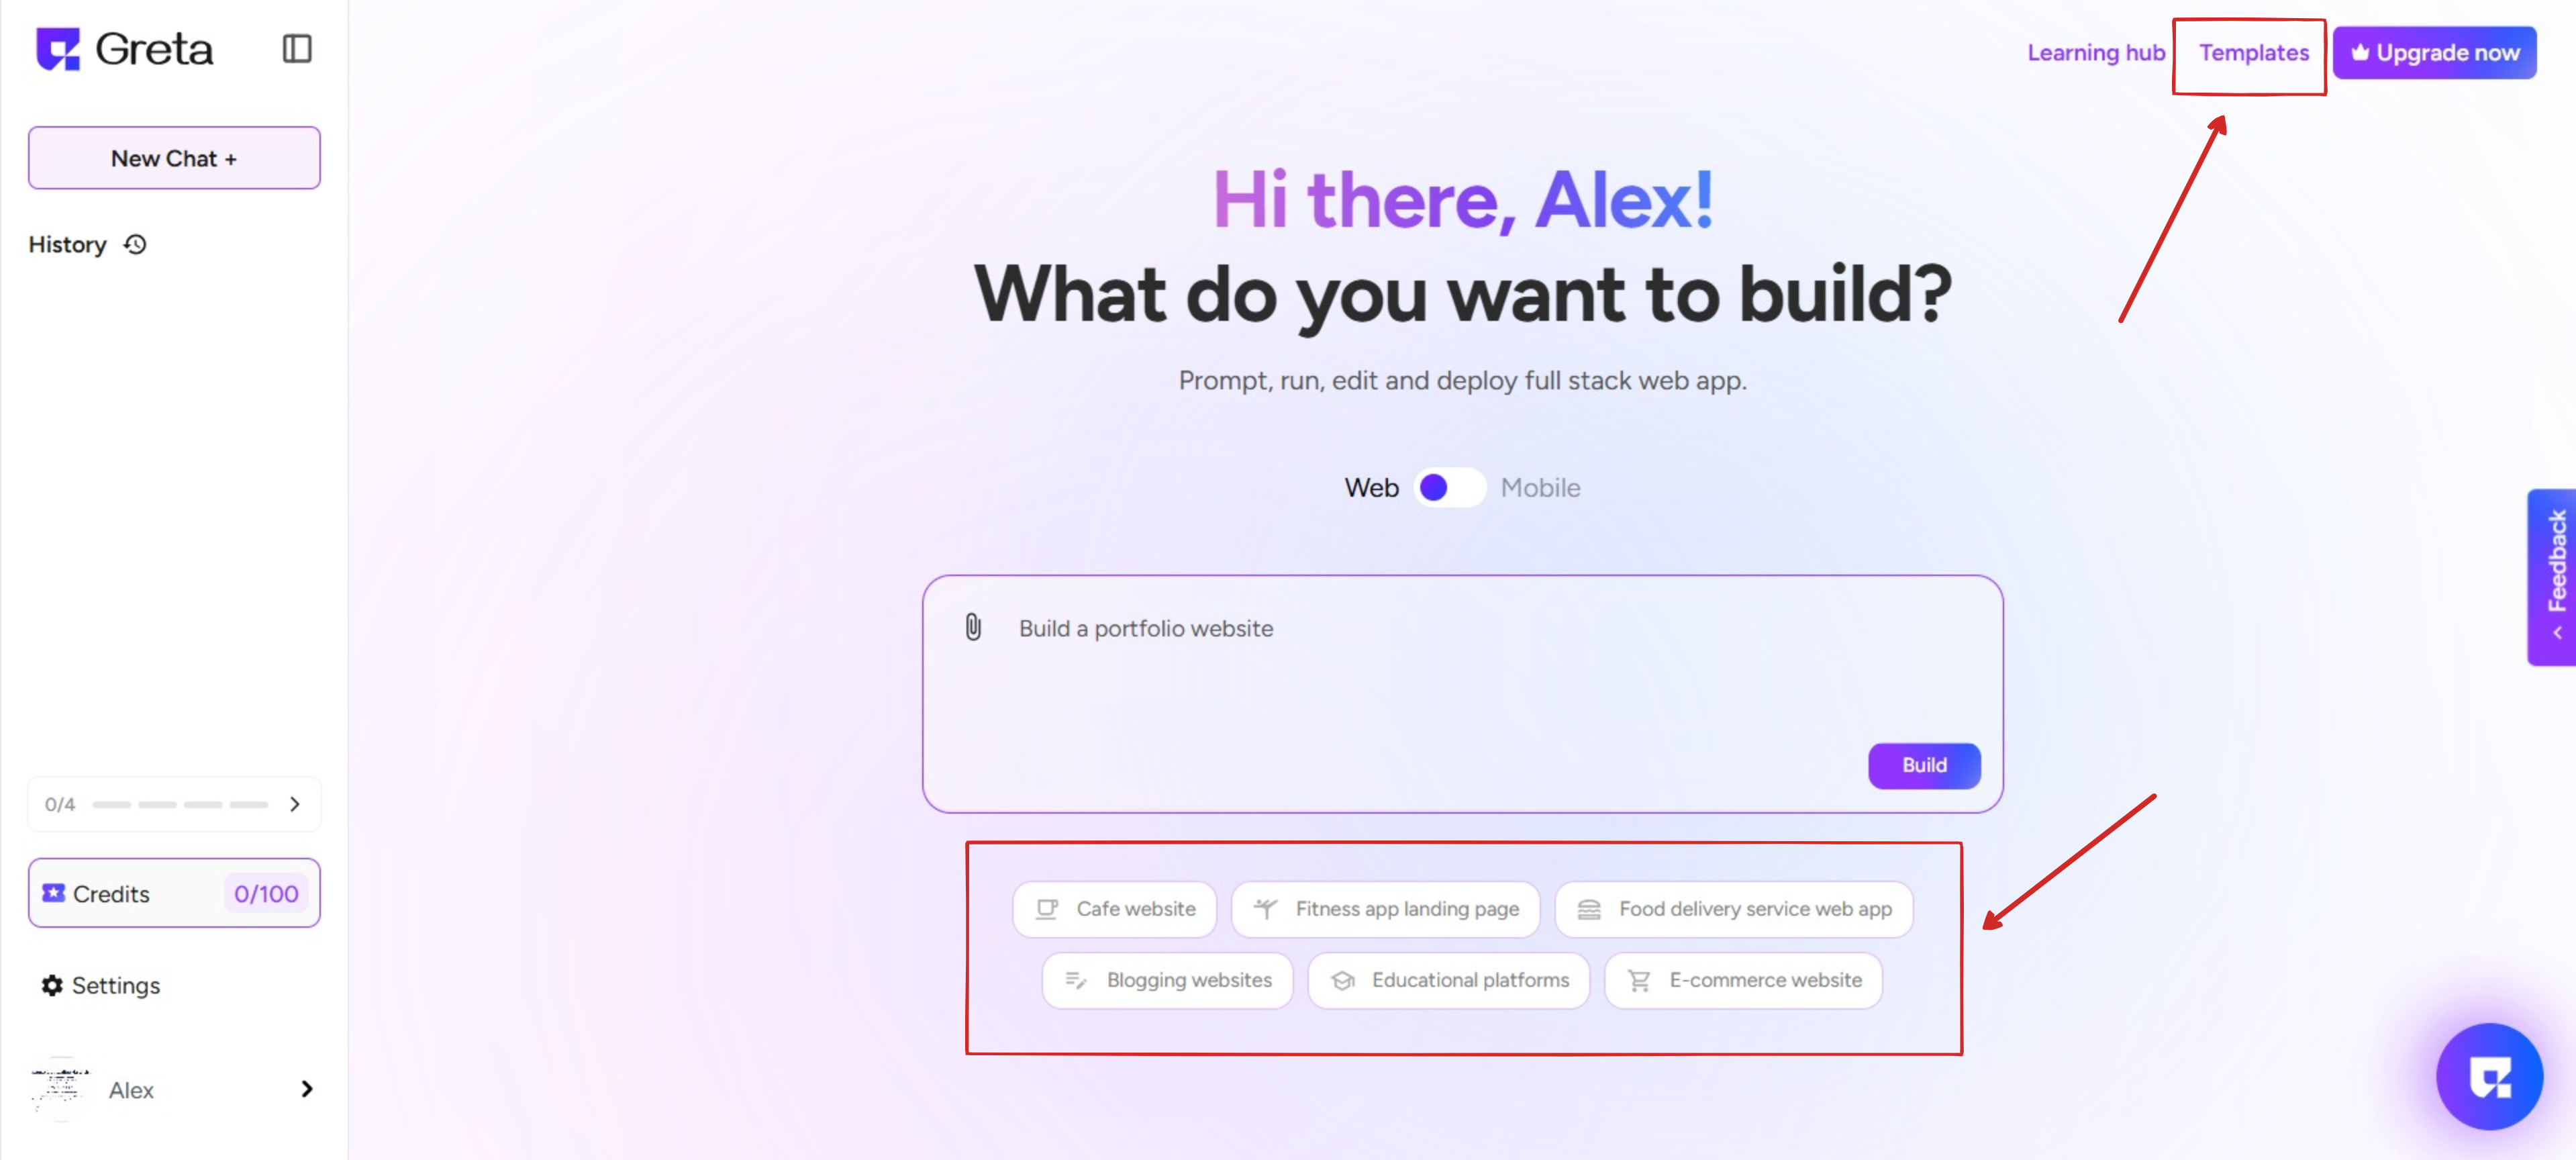
- Templates:Some of the pre-designed templates are present as capsules below the prompt text field and you can also find templates on top right of the screen. you can browse and choose from ready-made website templates to quickly start your project.
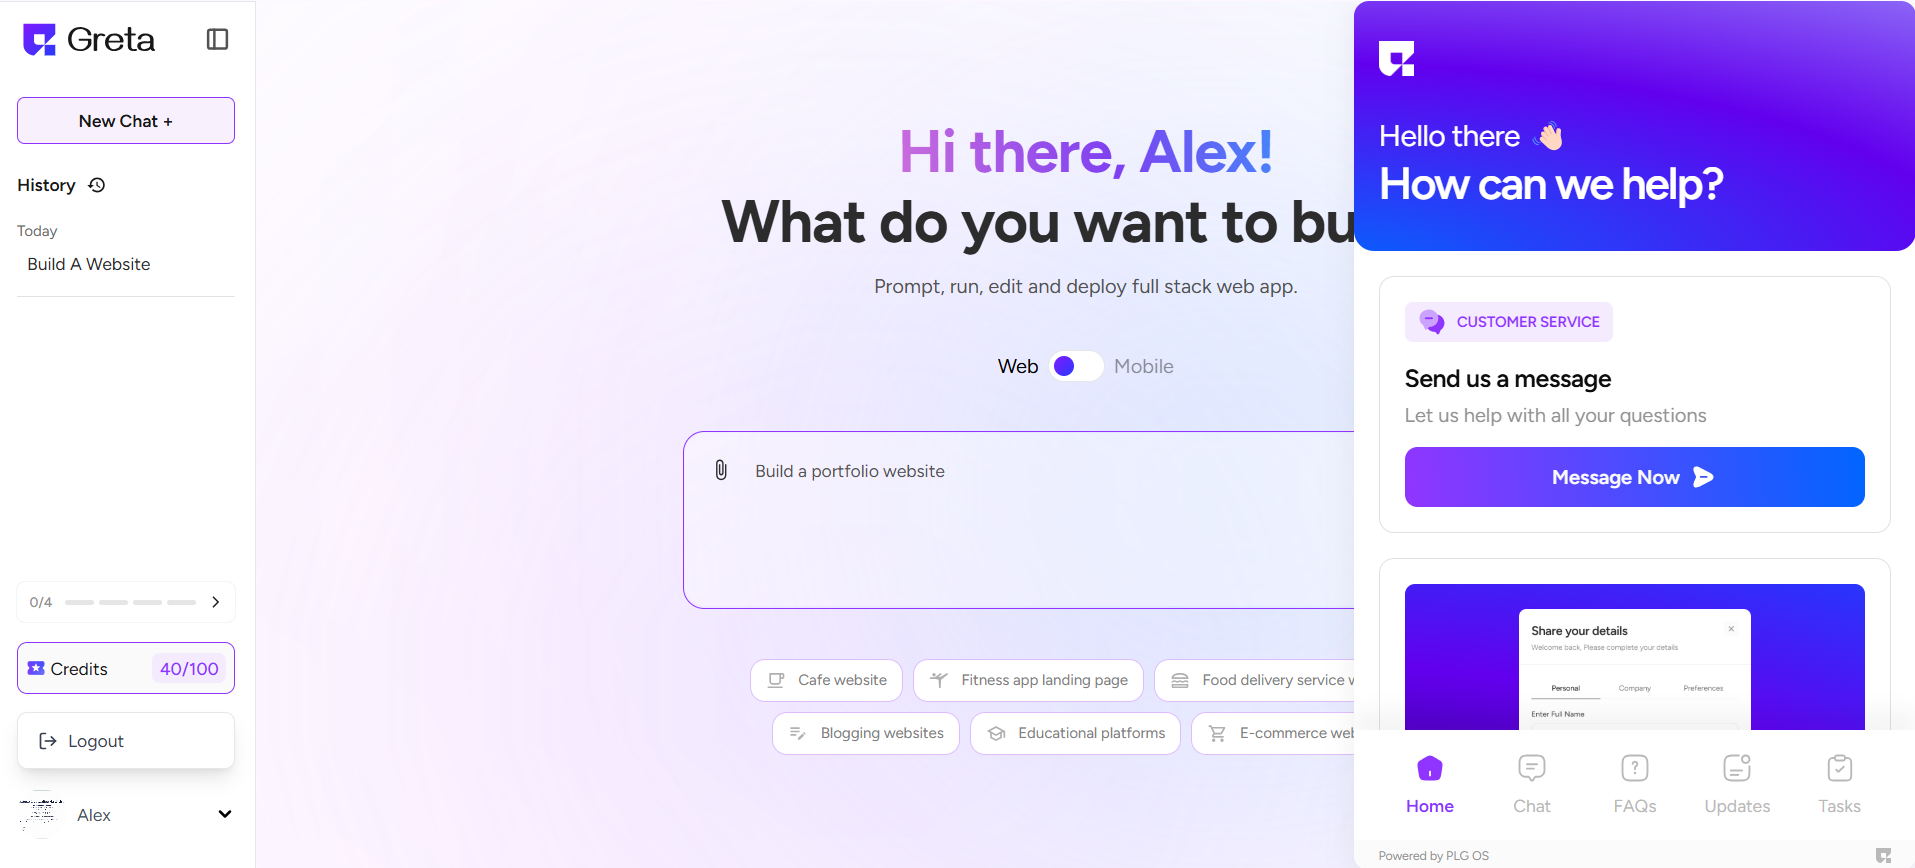
Step 3: Access the Help Hub
- Located at the bottom left corner, the Help Hub provides support whenever you need assistance.
- Here, you can:
- Send a message to the support team.
- Join the Greta Community to interact with other users and get help.
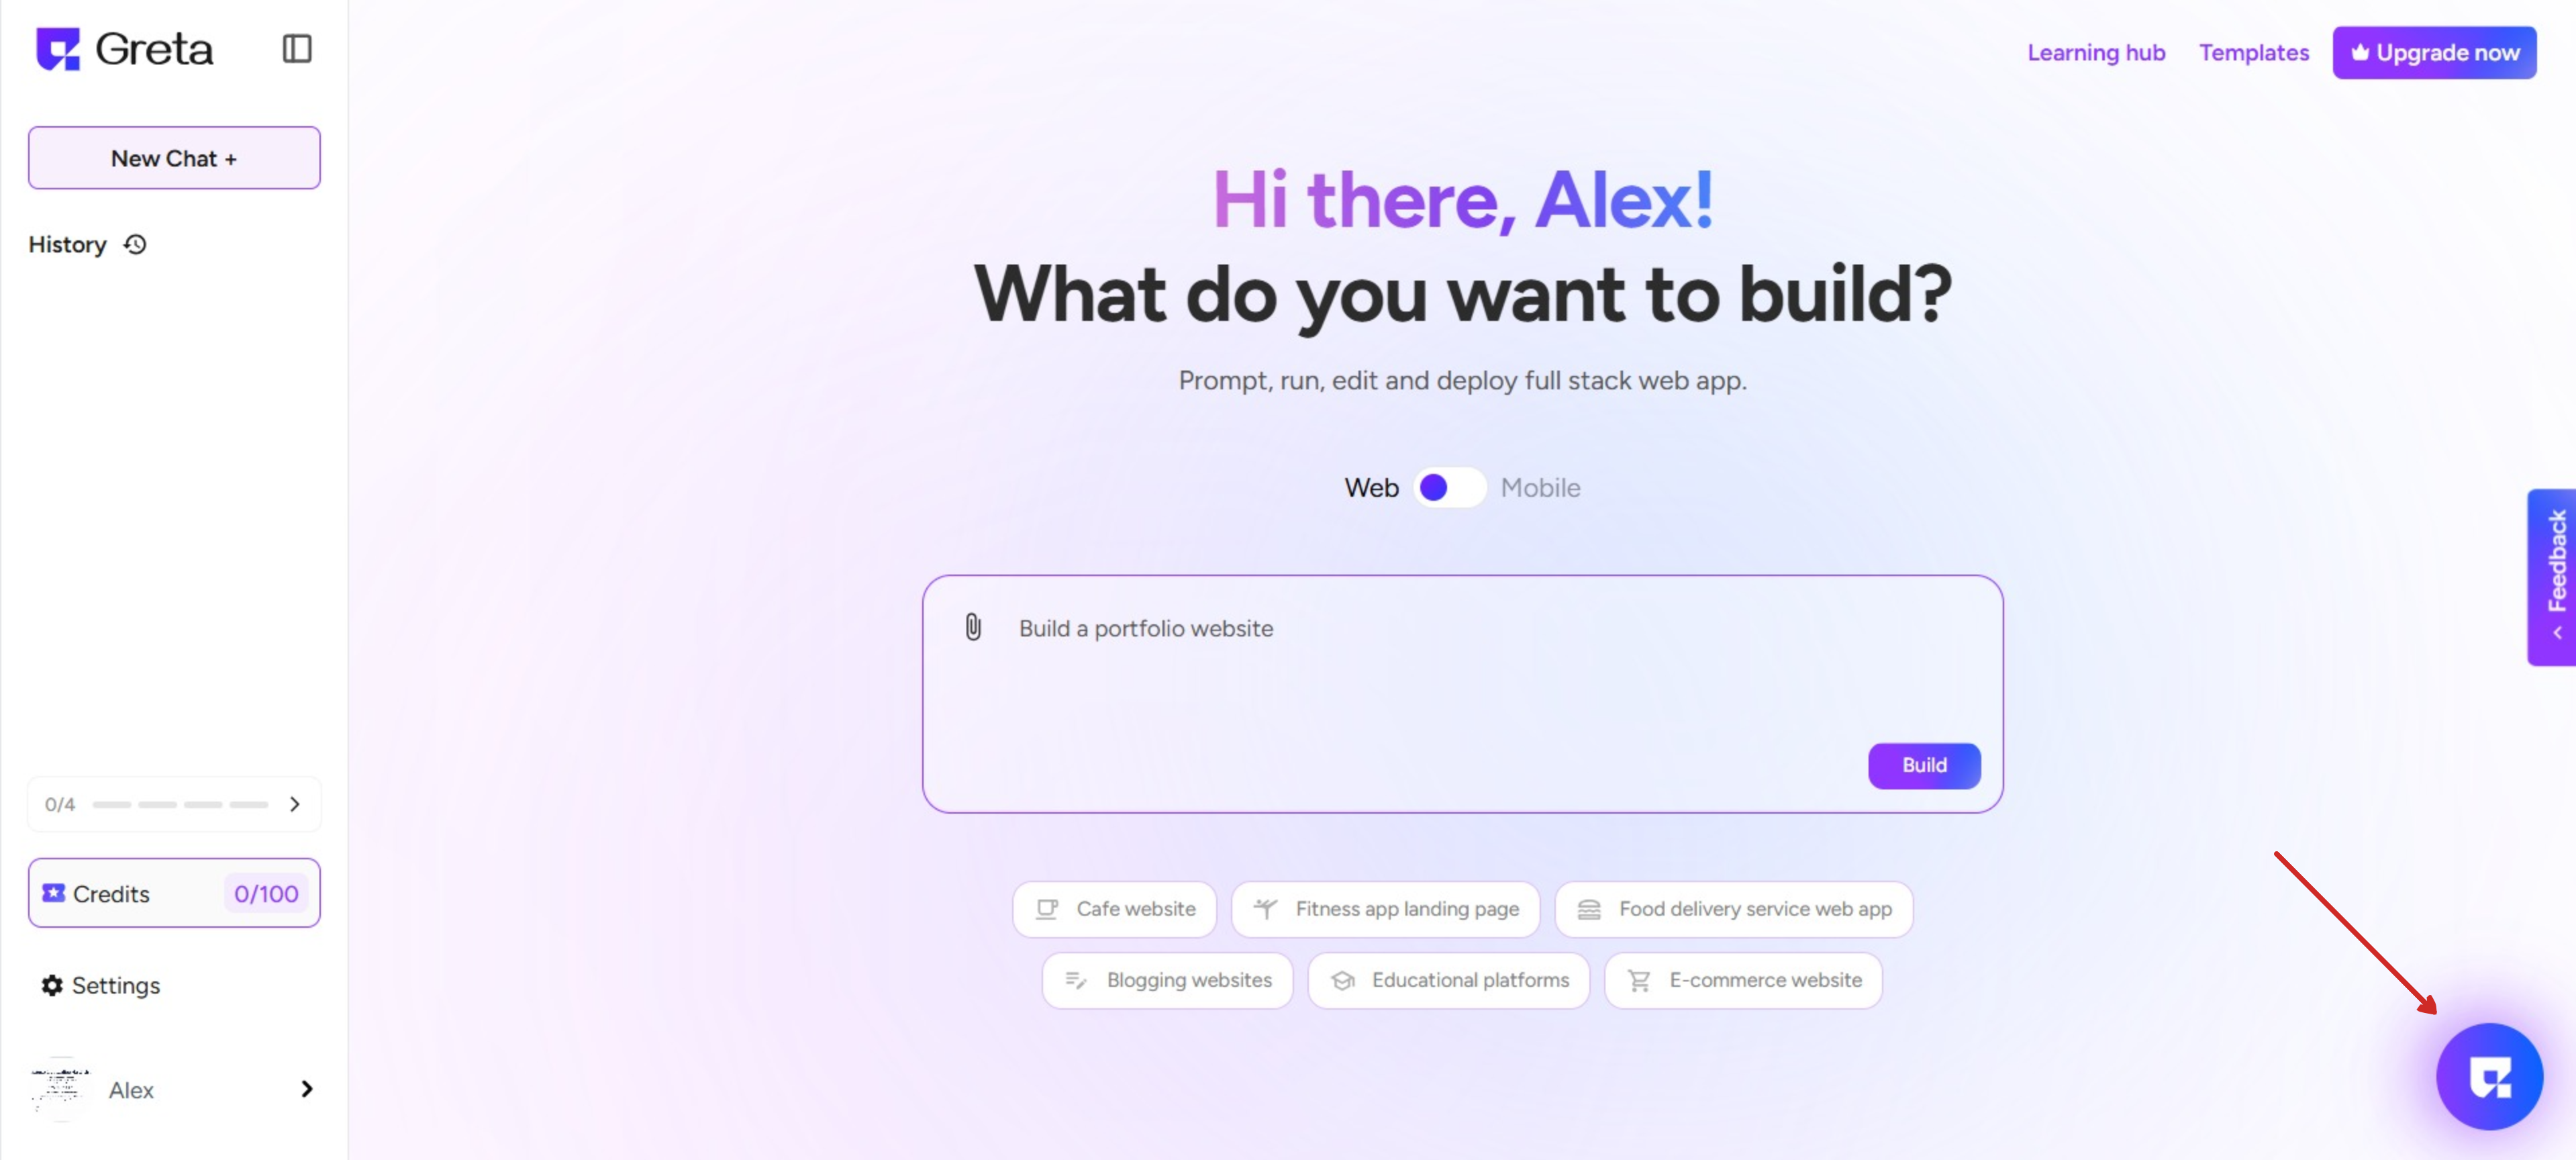
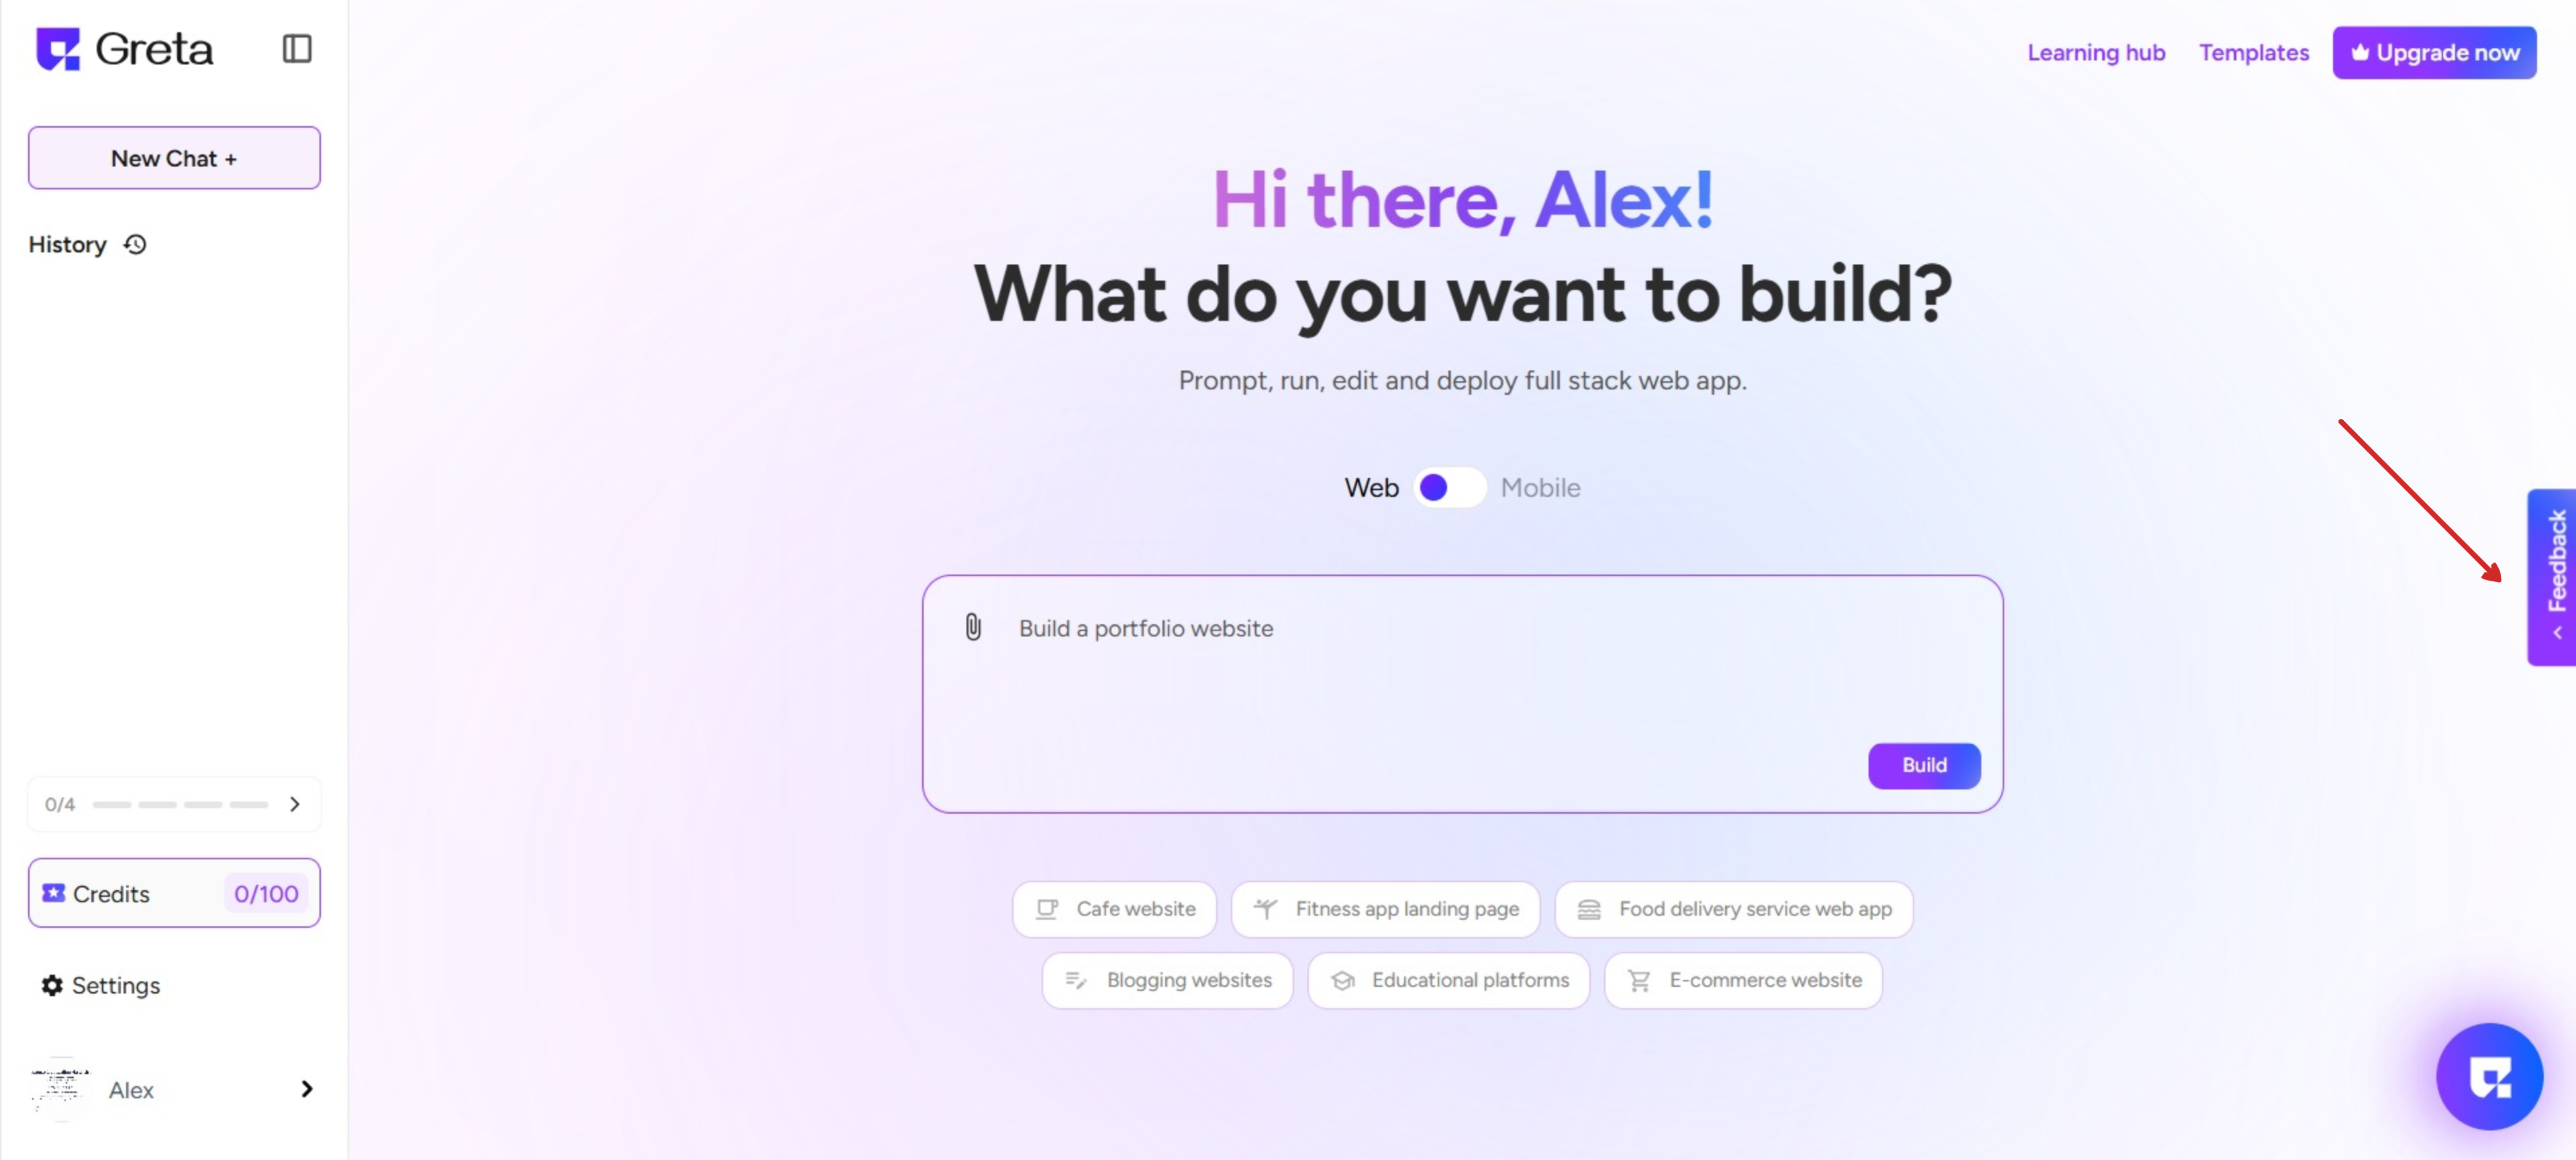
Step 4: Feedback Submission
Users can provide input through the Feedback option, available on the middle-right side end of the page. Clicking this will open a Modal, Here you can do the following.
- General Feedback Submission:Share overall experience insights.
- Bug Reporting:Notify the team of any technical issues.
- Feature Requests:Suggest enhancements or new functionalities.
- Direct Contact:Reach out to the support team for additional assistance.
