Project Management & Organization
How do I organize my projects using folders?
Learn how to create and manage folders to keep your projects organized and easily accessible.
How do I organize my projects using folders?
Project Folders are an organizational feature in Greta that helps you group and categorize your projects. This allows you to keep your workspace clutter-free and manage your work more efficiently, especially as you build more projects.
Step-by-Step Guide:
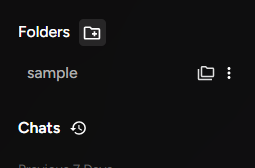
1. Access the Folders Section
- Open Greta and look at the left panel
- Click on "Folders" in the navigation menu
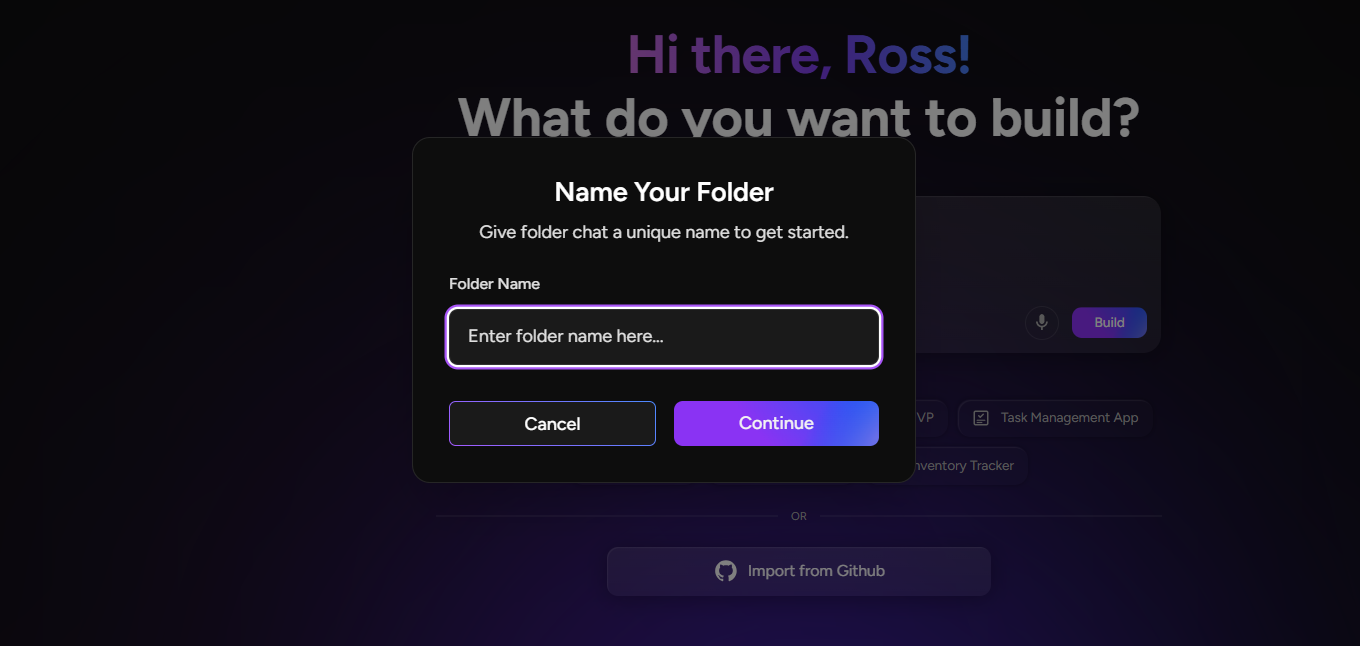
2. Create a New Folder
- Click the "Create Folder" button
- Give your folder a descriptive name (e.g., "Client Projects", "Portfolio Sites", "Experiments")
- Click "Create" to confirm
- You'll see a confirmation that the folder was created successfully
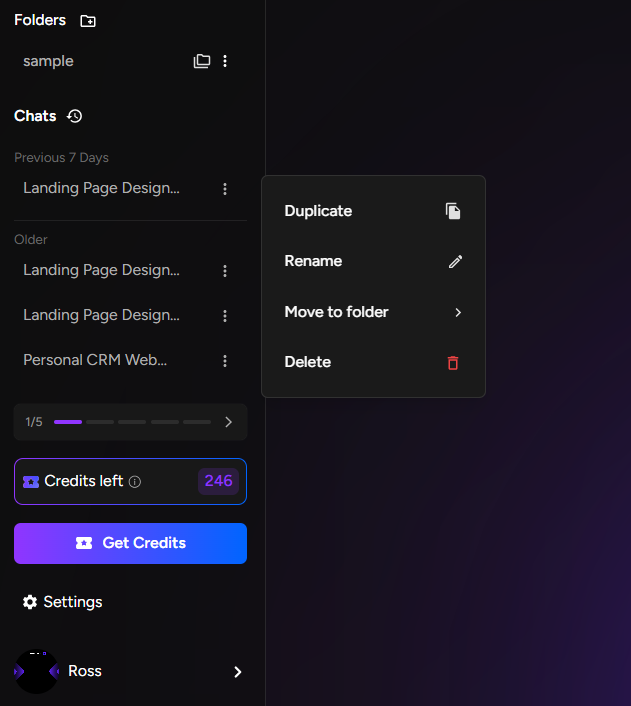
3. Move Projects to Folders
- Go to the "History" section below your chats
- Here you'll see all your existing projects listed
- Find the project you want to organize
- Click the three dots (⋯) on the right side of the project entry
- Select "Move to Folder" from the dropdown menu
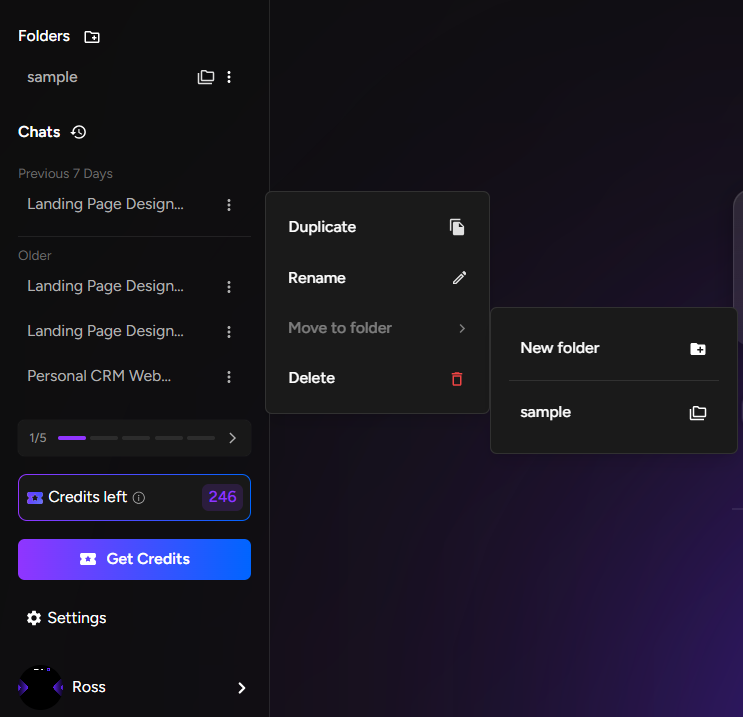
4. Choose Destination
You'll see two options:
- Select existing folder: Choose from folders you've already created
- Create new folder: Make a new folder directly from this menu
- Select the folder you created earlier
- The project will automatically be moved into that folder
5. Manage Your Organized Workspace
- You can move any number of projects into folders
- Create multiple folders for different categories (clients, project types, timelines)
- Access your folders anytime from the left panel
- Click on any folder to view only the projects inside it
Benefits of Using Folders:
- Reduces clutter on your main project screen
- Groups related projects together for easy access
- Improves workflow efficiency
- Makes it easier to find specific projects later
- Perfect for organizing by client, project type, or development stage